Handmade Quality
Many modern programs, like GIMP, Photoshop, and Pixlr, have built in filters and styles that achieve many of the same effects taught in this lesson. In fact, you can create a 3D sphere with just one or two clicks in these image editors. But where's the fun in that? These lessons are designed to teach you the fundamental concepts and techniques behind the shortcuts, so you understand how image editing really works. That way, your creativity won't be limited by the options in some effects menu; you'll be able to draw whatever you can imagine!
Unless you've got some insanely smooth drawing skills, your freehand circle is probably less than perfect. No worries! Image editing software has lots of ways to make a perfect circle, along with squares, rectangles, ovals, and lots of other geometrical shapes. First, let's make a fresh start by clearing our digital canvas. On the bottom of the toolbar, you should see two squares. These are your foreground and background colors. If you click on either of these squares, you'll bring up the color picker dialog.
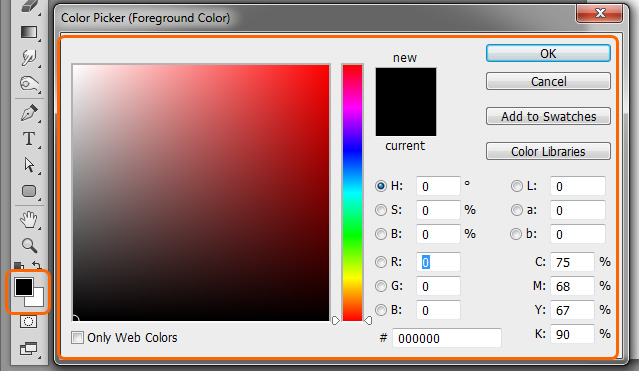
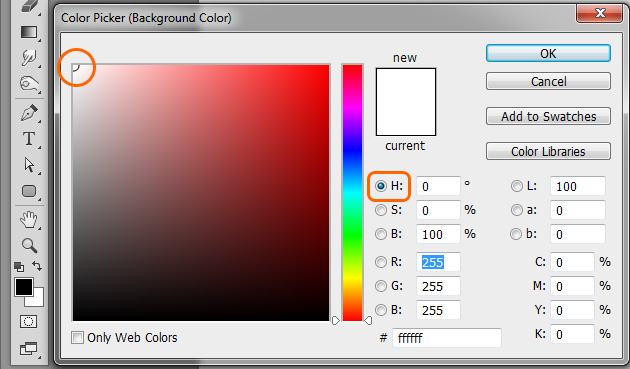
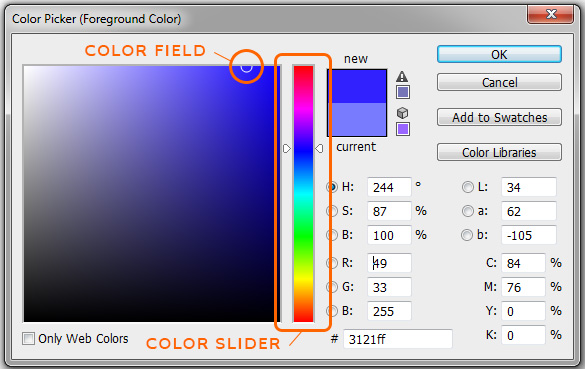
Think of the foreground color as the color of your drawing tool, whether it's a pencil, a paintbrush, or an airbrush, or a shape. The background color is the color of your paper or canvas. It's used for filling in large areas. Since we want to start with a blank white canvas, let's click on the background color, and move the color picker to white. We'll talk more about the color picker later, but for now, just make sure the radio button next to "H" is selected, and move the the circle in the color field all the way to the upper left to select pure white. Your color picker dialog should look like this:
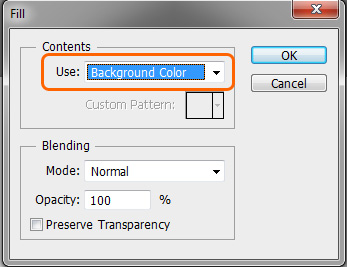
Next, let's fill that canvas with white and cover up our lopsided circle for good. The fill command lets you fill a selected area with a single solid color. Go to Edit>Fill, and choose background color as the fill contents.
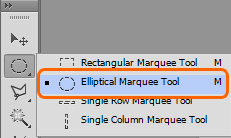
When you hit OK, your image will again be solid white. It's time to let the computer do the work, and make a perfect circle using the elliptical selection tool. This tool lets you select a circle or oval of pixels, which you can then edit any way you want. You can find it on the top of the toolbar, by clicking and holding down on the square with a dotted outline.
Click and drag to select a elliptical range of pixels. Before letting go of the mouse button, try pressing the Shift key. What happens?
Holding down Shift while drawing a selection constrains it to a perfect circle (or square if you're using the rectangular selection tool).
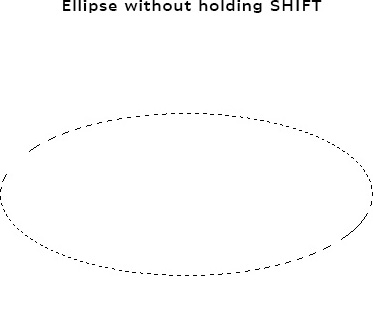
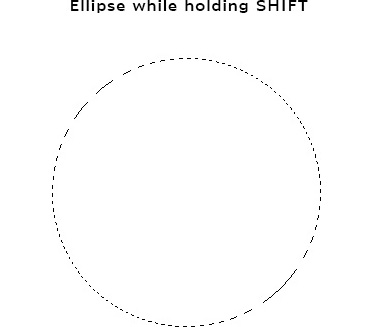
Once you've drawn a circle you like, you can move the selection to the center of the canvas by hovering your cursor inside the selection and dragging it where you want it. When you're done, it should look something like this:
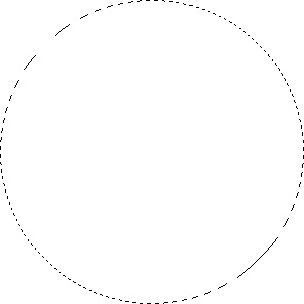
Right now, we've told the program that we want to edit this range of pixels on the raster image grid, but we haven't actually done anything with them yet. Let's change that by filling in this circle with a different color. Click on the foreground color on your toolbar to bring up the color picker. We can choose a nice blue color for our circle by making sure the H (for Hue) radio button is still selected, then sliding the color slider up until it's in the blue part of the spectrum. Finally, click an area of the color field that has a shade of blue you like.
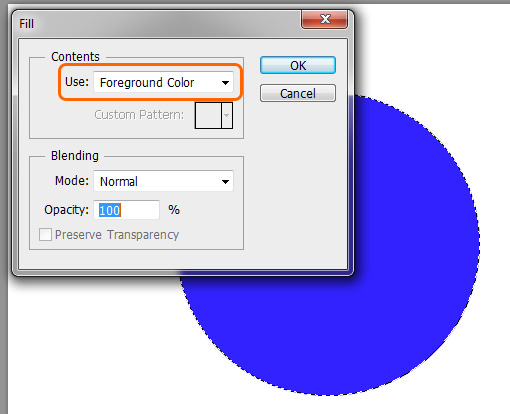
Go to Edit>Fill, change the Contents area to Foreground Color, and press OK. This will make your circle blue, like this:
We have a lot of work to do on this circle before it looks like a real 3D object, but we don't want to have to keep selecting the same pixels by hand every time we want to edit them. Let's save this selection so we can use it again and again. Click on Select>Save Selection... and type "circle" in the Name field. Finally, save your work before going to the next page.
