Image Editing Programs
In this course, we'll be using Adobe Photoshop to explain raster image editing. Photoshop is a powerful and popular program for image editing, but it is not free software. If your computer or school doesn't have Adobe Photoshop, there are a few alternatives available. GIMP is a great choice, since it is free, flexible, and cross-platform. Pixlr, an image-editing program that works from any browser, is also a good choice for those who can't install Photoshop or GIMP. This course is designed to work with any of these programs, although you might have to do a bit of searching to find out how specific tools and techniques work in each editing environment.
Now that we know something about raster graphics and image resolution, we'll get to work on creating our first raster image. To get us familiar with some basic tools and techniques of raster image editing, our first project will be making a realistic 3D sphere from scratch. The end result should look something like this:
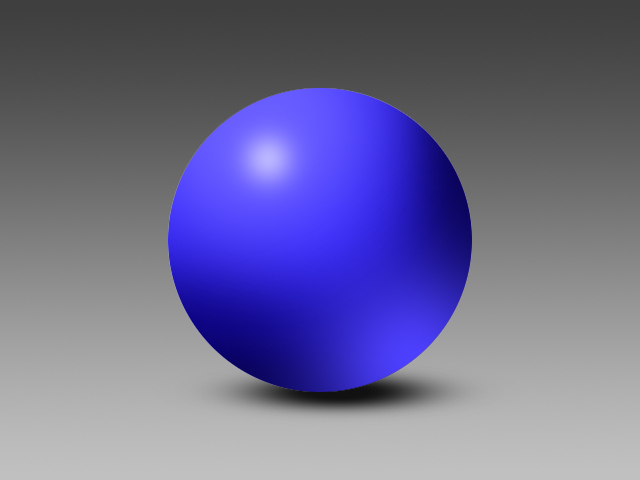 This is the image we'll create in today's lesson. |
First, open up your image editing software. We'll be using Adobe Photoshop, but these same basic ideas will work in other programs, such as GIMP, Corel Paintshop, Pixlr, and more. Please check with your teacher for more details about which program you will use, and where you should save your work in progress.
Let's get started! Go to File in the top menu, and select New... A dialog box will appear that looks like this:
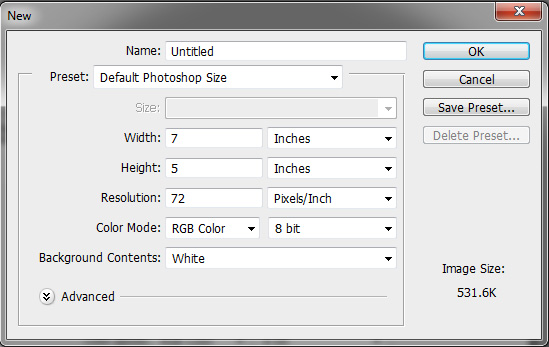
First, name your new work of art. Something like "3D_Sphere_01" will work. Next, make sure the width and height of your new image will be measured in pixels by changing the "inches" drop down menu to read "pixels." Finally, make this image 640 pixels wide and 480 pixels high. You can leave the rest of the values alone for now. When you're done, the dialog box should look like this:
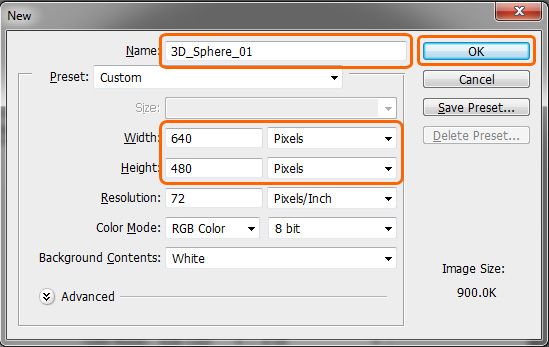
Click OK. Now you have a blank canvas, where you can create your 3D sphere. Save your work to your computer by selecting File>Save, and browsing to a folder you can easily find again.
It's time to introduce your new best friend: Undo. The "undo" command lets you go back in time and erase a mistake like it never happened. This not only lets you correct any missteps or errors, it also allows you to be as experimental as you want. If something doesn't look right, just undo it and start again! Try doing that with old-fashioned pen and paper.
 Can't undo this. |
To unlock the power of Undo, select Edit>Undo. Let's test it out. Since we're trying to make a sphere, we need to start with a circle. Go ahead and select the Paintbrush tool. In Photoshop, it looks like this:
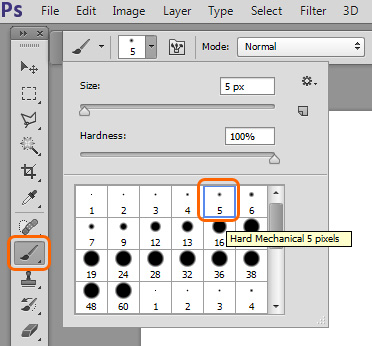
Pick a paintbrush that's 5 pixels wide, and try to draw a perfect freehand circle. If it doesn't look right the first time, use your best buddy Undo and try again.
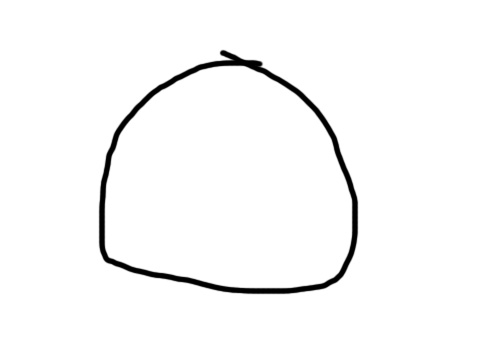
Save your work (no matter how bad your circle is), then go on to the next page.
