The pen tool is perfect for selecting objects with smooth, sharp boundaries, like flower petals and sports cars. But what about objects that have furry, blurry, or translucent edges?
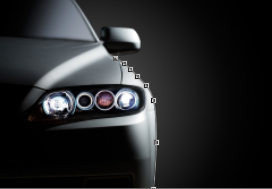 The pen tool works great when selecting a smooth, sharp object like this car. |
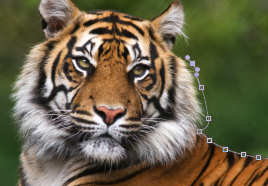 The tiger's fur presents a real problem for the pen tool. |
When you want to select something with a fuzzy edge, like this tiger, you can use a selection mask. A mask uses black, white, and every shade of gray in between to create a versatile and gradated selection. Unlike a pen tool selection that is either on or off, a mask selection can allow for degrees of transparency. The parts of the mask that are white will select 100% of the pixels, the black part will select 0% of the pixels, and a medium gray area will select pixels at 50% transparency.
 On the left is an image of a fireball against a black background. On the right is its selection mask. The brighter the area of the mask, the more visible the selected pixels will be. Applying this selection mask to the fireball will let the artist put the object against any background for a perfect blend. |
To get started using selection masks, first download this image of a fox.
 |
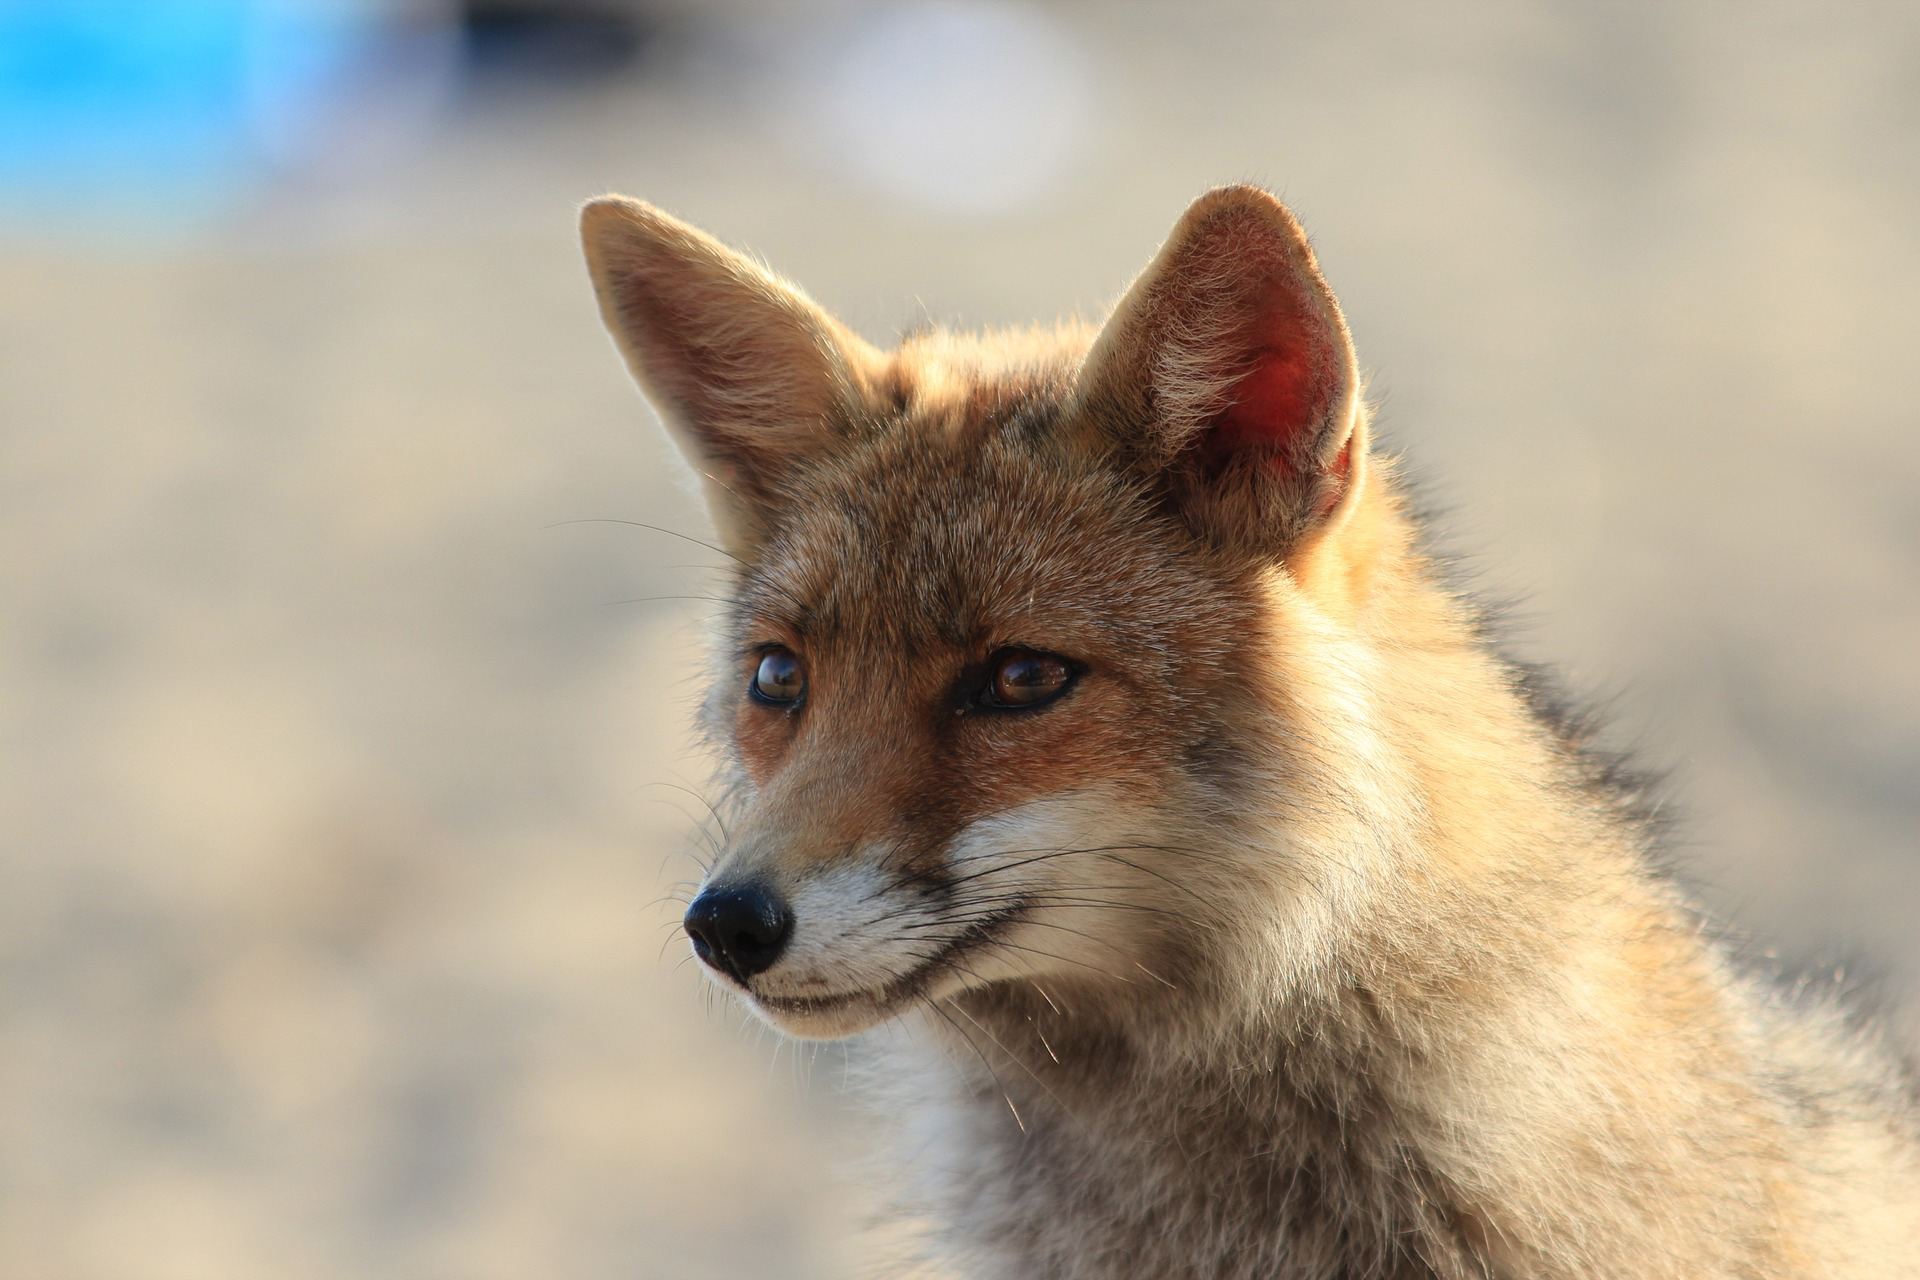 |
Open it up in your image editing program, then follow along with this tutorial to separate the fox from its background using a mask.
![]()
NARRATOR:
If we wanted to extract this fox from the background, the pen tool would work pretty well for areas around his ears or maybe on his snout, but what about these areas? Where it kind of is furry and fades off to the background? Using the pen tool wouldn’t really help us here, even if we did try to go through and select every one of these little hairs, not only would it take forever, but it would still look sort of strange because the hairs aren’t sharp. We would pick up too much of the background and the final selection would just look a little crazy.
So, we’re going to use a different method. I’m going to throw away this work path. We’re going to use a combination of the pen tool and something new called a “mask.”
So let’s just get started. What I’m going to do is I am going to very quickly go around the areas that are furry with the pen tool just to get a basic selection. Let’s zoom in. And then I’m going to go a little bit more carefully around the areas that are sharper because we will probably keep most of this work that we do with the pencil here. And we’re going to give him kind of a haircut, we’re not going to worry about these whiskers and things coming off his head here. In this area we’re just going to split the difference go in the middle here is his ear. Now again there are automatic ways in programs like Photoshop to extract an image like this but it’s better to know the real principles behind how these techniques work. For example, trying to do an automatic selection here would be very difficult for the computer to figure out because the fur fades into a background color that is a very similar color. So I want to try to teach you some of the thinking that goes behind the automatic filters and things and if you want to use those once you understand the basics, that’s great, but it’s always better to know how something really works behind the scenes before you start using the shortcuts. All right. So now we’ve got a pretty basic outline of this fox and again, if we turn our path into a selection and we put him into a new layer, I’m going to use CTRL J which jumps the image into a new layer. And we’ll just throw that away and you can see that the selection looks all right around his muzzle but here, this should really have a nicer transition to the background and it doesn’t.
So what we need to do is we need to introduce a mask. I like to think of it as kind of like a super stencil. It allows some pixels to come through. It makes other pixels invisible. But you also get to use all of the power of the drawing tools and the effects that come with Photoshop on your selections. So anything you can draw, you can actually draw as a selection using a mask.
Let’s see how this works. Right underneath the foreground and background color is the Quickmask button, or you can just press Q. When you enable the quick mask, you can see that our stencil is here in place. The red area is going to block all of the pixels. So that is going to end up being transparent when our selection is done. The clear area lets the pixels shine through. And now that we have our quick mask in place, our paintbrush is going to act differently. If we start drawing, it’s not going to color the original image. It’s not going to say, for example, start painting it black. Instead, the paintbrush can add or take away from the mask. So if I draw on his eyes, that’s a little scary, I turn off the quick mask. Now you can see his eyes have been removed from the selection so if I jump him into a new layer, you can see his eyes have been subtracted from that selection. That’s looking a little creepy. Let’s undo that. We’re going to take out our eraser and let’s give him his eyes back. Sorry about that buddy. So we’re going to use the eraser to very quickly add a feathery fade-out to these sharp lines where his fur is. Let’s grab an eraser that’s maybe 200 pixels or so. And make sure that it is set to 100% opacity, our hardness should be zero and very gently fade out, we want to capture some of this black fur, very gently fade out that area. Maybe we can make our eraser a tiny bit bigger for the scruff that is kind of under his chin. We’ve got it nice and smoothly and then for the fur around his head, I want a smaller eraser, because it doesn’t fade out quite so much. The fur is not so long. Up here. Let’s just add a little bit of fuzz. So as you can see I am just erasing some of this mask. The parts around his ears and nose are staying nice and sharp. The parts that are furry and go in to the background are fading out nicely. Let’s actually put some of this back. Maybe I took too much. So what I’m doing here is I am just painting with black. I’m painting with a black paintbrush. So let’s turn this back into a selection by pressing Q. And although our selection doesn’t look very different, when we jump our fox into a new layer, Control J which would be Command J on a Macintosh, we turn off the background layer, we can see that now his furry parts fade very nicely into the background. Let’s rename this layer fox and I’d like to put a solid color back here just to see how our transparency is going to hold up. Let’s see what happens if we fill it with white. Edit fill, background color. All right, looks pretty good. What if we fill it with black? Edit fill, foreground color. Yes still looks pretty good. Let’s go ahead and save our work. File – save us – Fox_01.psd.
Question
What are some other uses for selection masks when trying to isolate objects?
