Compositing photographs isn't all about adding things together into one image. Sometimes, you want to take things out as well: elements that don't belong, blemishes or flaws, or that one friend who photobombs all your selfies. Fortunately, raster image editing makes it pretty easy to remove things you don't like using the clone stamp tool and layer masks.
The clone stamp tool lets you use the image itself as a paintbrush. You can copy areas that you like to patch over areas you don't, while keeping the exact same colors, textures and values of the original photograph.
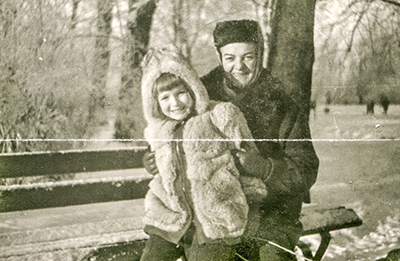 Someone folded this photo years ago, and now there's an ugly crease across the center. |
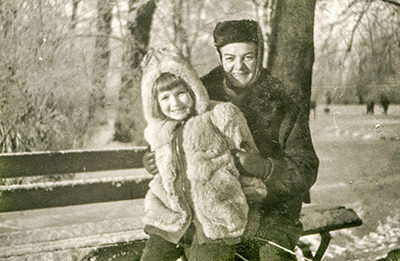 Using the clone stamp tool, you can sample the parts of the image that are undamaged and cover up the crease. |
Download these images to help you follow along with the tutorial.
 |
 |
 |
 |
Then use the clone stamp and layer masks to remove the house from the background and get rid of some distracting snowflakes that cover up our subject.
![]()
NARRATOR:
So this image is looking ok but there are a couple of areas that I’d like to improve. For example, I think some of the snow on this fox’s face is a little distracting, especially this big snowflake right there. And I’m also not crazy about the way that this house sort of intersects with his snout. I think it’s a little distracting. I’d just like to just get rid of that house. And one of the great things about image editing is that you can basically create almost whatever you can imagine or you can get rid of whatever you don’t want pretty easily a lot of the time.
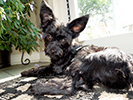
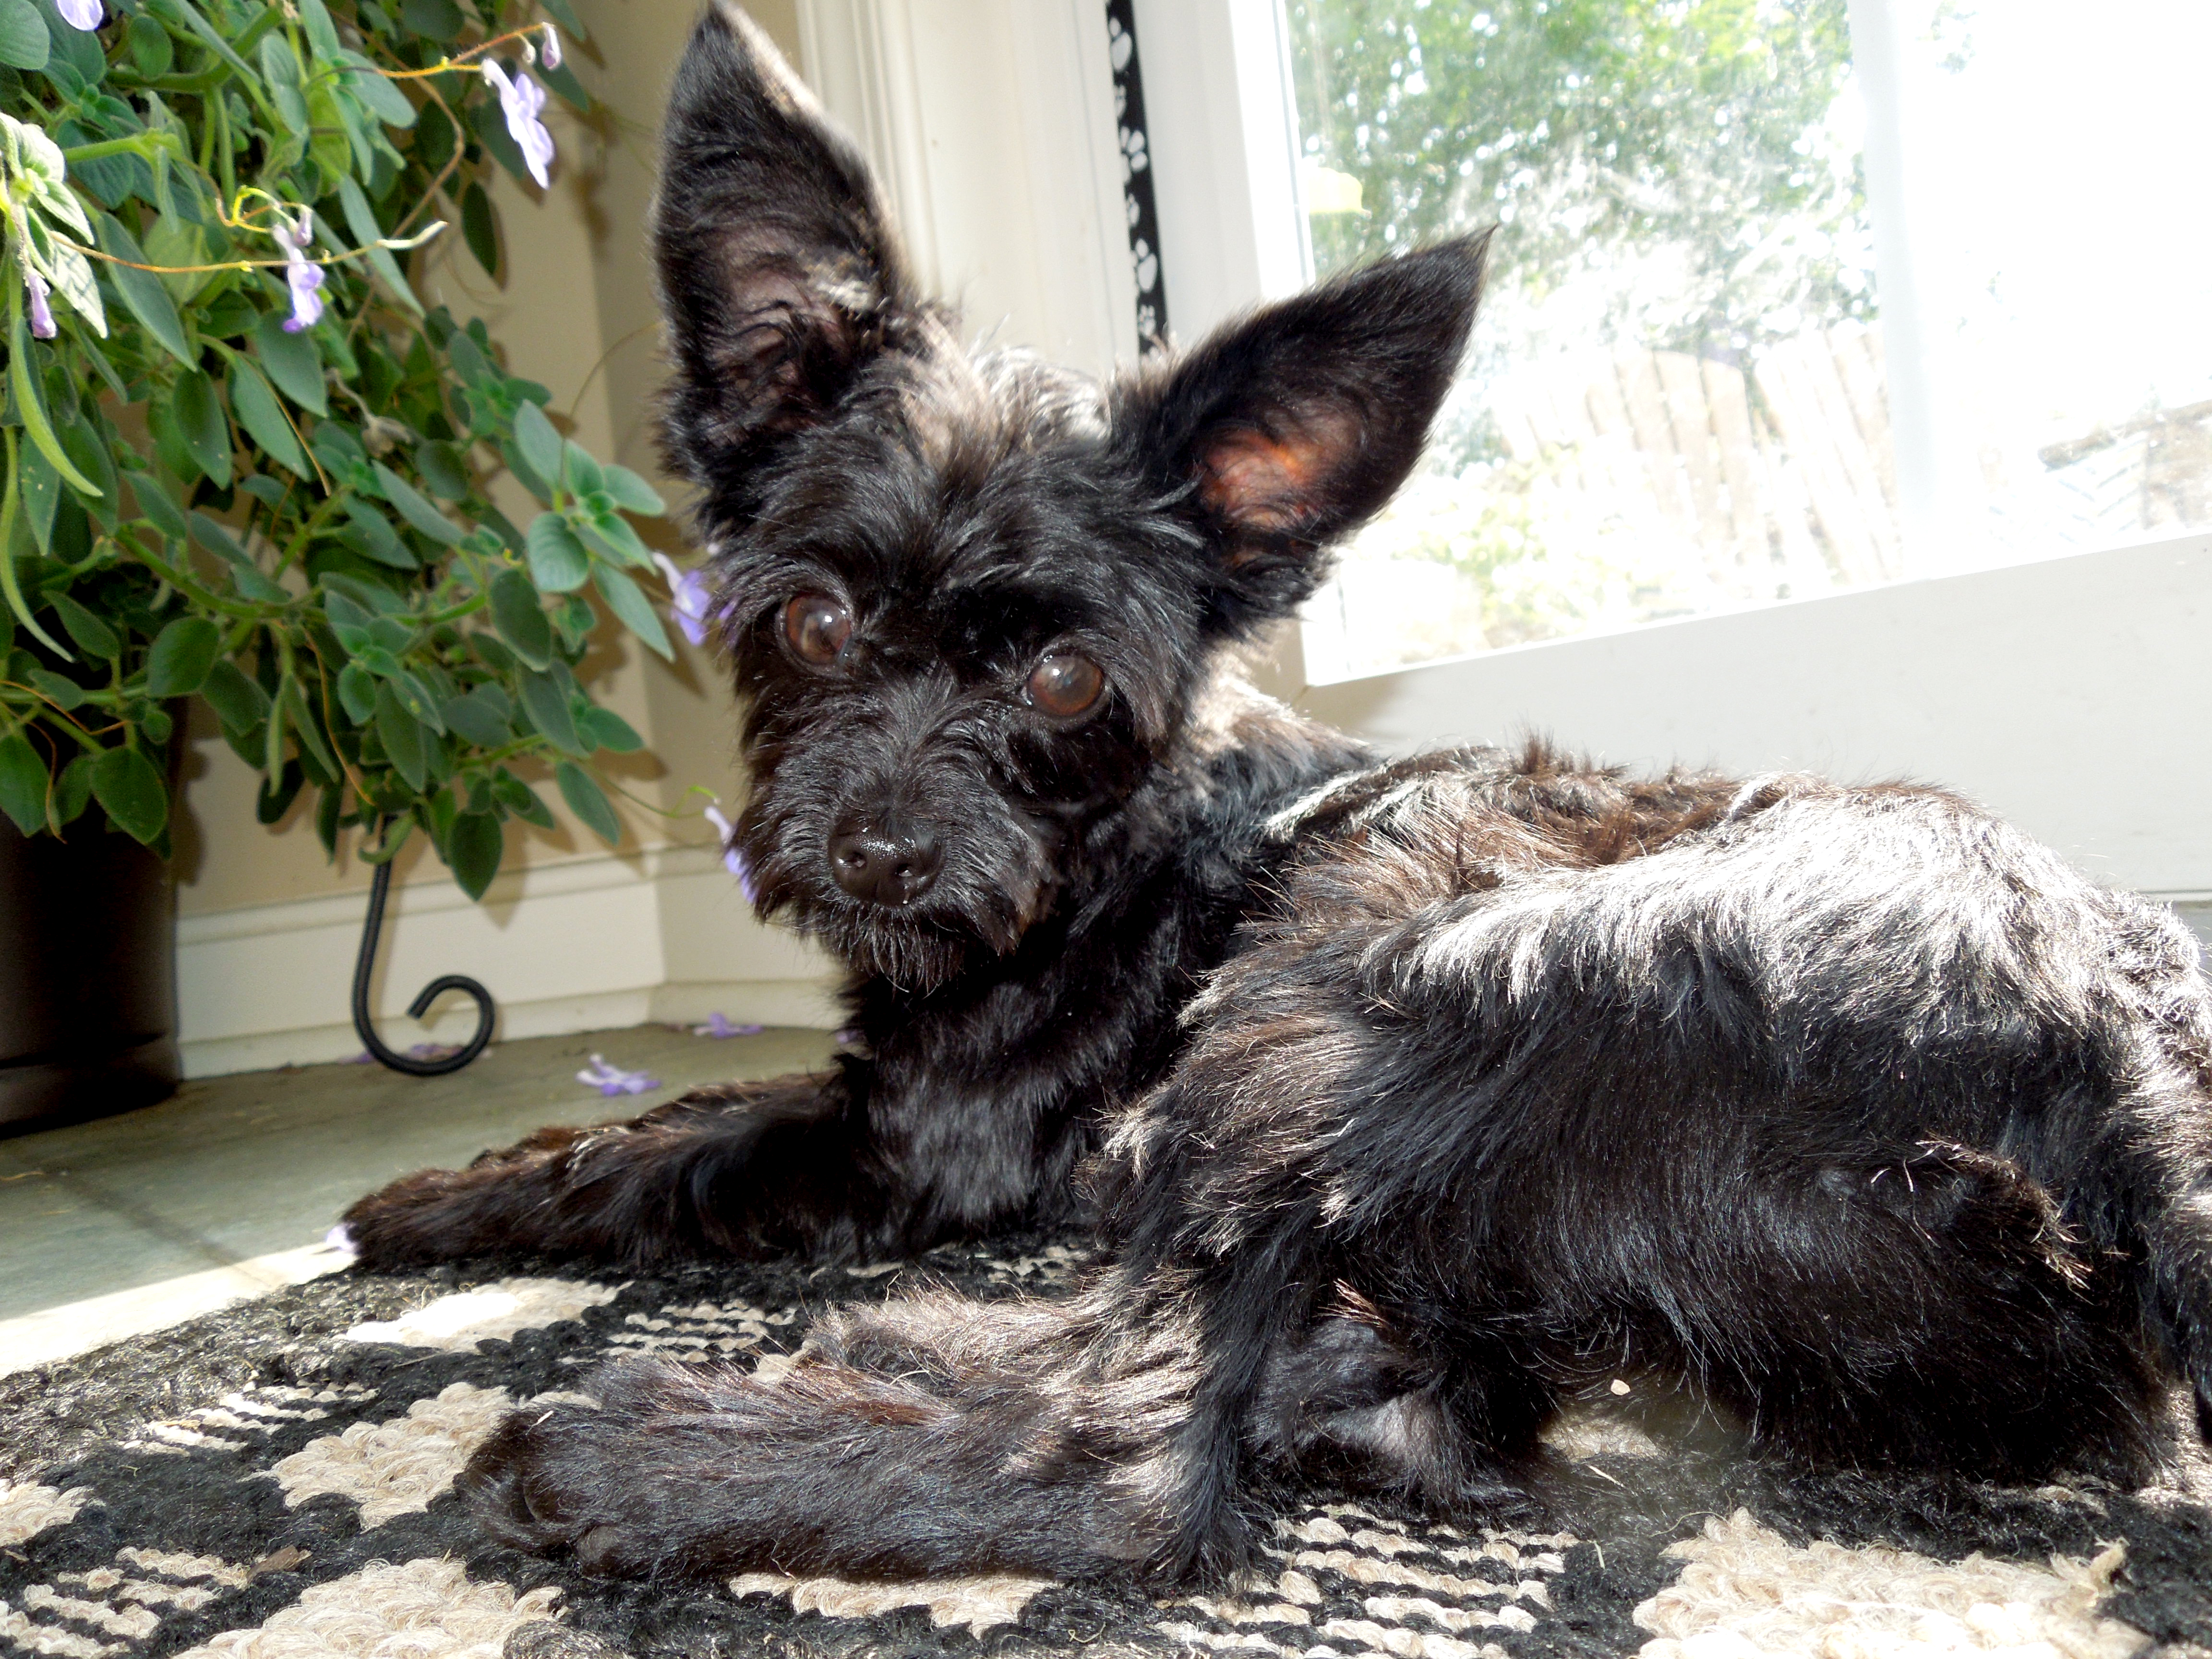
Probably the most common way to touch up images is by using the clone stamp tool which you can see right here below the paintbrush. To give you a quick look of how it works, I’m going to show you this picture – lovely picture – of a cute little black dog. But if we look close, we can see that there are some areas that are not perfect. For example, there’s this white speck here in the dog’s fur. This tree or this bush in the background looks like it’s dropped some leaves on the ground. Not huge problems but they are really easy to fix with the clone stamp tool.
The clone stamp tool, if you select it and just start trying to draw, it’s going to throw up an error. It says you can’t use it because you haven’t defined a selection. What does that mean? Let me show you. The clone stamp tool does what it sounds like it does. It creates a clone of a certain area of an image.
So to get it to work first you need to tell it what area of the image you want to clone. What area of the image you want to paint with. So this time you are not painting with a paintbrush or a gradient, you’re actually painting with parts of the image. So let’s say for example we want to get rid of this little white speck on this fur. We’re going to tell the clone stamp tool that we want to grab some fur over here. We want to get some nice fur that doesn’t have a blemish on it. We’re just going to copy it over. We’re just going to patch that part right up. So I’m just going to hold down ALT, this would be OPTION on the Macintosh, this creates a little cross here and when you click that area, you’re telling the raster image editing program, please sample from this area. Please take this area and now wherever I click, I want you to copy that area over. In modern Photoshop, it actually gives you a little preview you can see. If I start painting down here, it’s going to copy that little patch of fur right there, if I start painting down here, you get the idea.
But what we want to do is we want to cover up this little patch of fur right here and before you know it, just one click later, it’s all fixed. You would never notice it. How about this flower? We want to get rid of this flower. So when you’re sampling with the clone tool, it takes a lot of practice to get it right but one of the things that really helps is making sure that you think about the way the actual objects in the photo are situated. So this is the floor and we can kind of see that the tile is sort of the same color this way. We don’t want a sample from this part of the tile. It’s not going to match. It’s doesn’t look right. We don’t want a sample from the wall, obviously, it’s going to be way too bright. We want a kind of sample in the same direction as the floor. So I’m going to go ahead and grab a little piece of the floor right here and make sure it’s lined up and we’re going to just paint right over that old leaf, that flower, and it’s gone.
So that’s a very quick introduction to the clone tool. Now we’re going to try to use that same tool, that same idea to get rid of this house.
So let’s go ahead and save a new version of our fox image. You’ll notice when I do a big change, I like to save a new version because if it gets really messed up and I can’t undo some mistakes, it’s always nice to have an earlier version that you can kind of go back to and start over with. So we’re going to start with fox03 and I’m going to try to just edit out that house. The first thing I am going to do is turn off the layers I don’t need right now.
And we’re going to zoom in on this house. And I’ve got my clone stamp tool selected and what I’m going to do is I have a lot of good information here. Right? We could sample from this area, we could sample from this area. We’ve got a lot of really nice tree space that we can copy over to just paint over this house.
One of the tricks of using the clone stamp tool is to copy from different areas if you possibly can. So for example, I might start over here and plant kind of a part of a tree right there on that part of the house, but if I copy too much, the human eye will start to see this pattern, right? When I zoom back and it looks a little funky because you see two sets of the exact same trees in the forest not that far from each other. Obviously that never happens in nature. That’s going to draw the viewer’s eye in a negative way.
So instead, we’re going to take a little piece of this tree right here and maybe put it right here. Kind of break up that house a little bit. Maybe we’ll take some of the tree from over here, kind of cover that up and match this texture that’s behind it here…and maybe we can grab from up here in the branches and kind of extend that leafy part of the tree down and a couple of clicks and before you know it, that house is gone. You can always go in and do a much more detailed job. This is just sort of to give you a quick idea of how the clone stamp tool works. As a matter of fact, I’m not crazy about how this looks, it’s too similar, so I’m going to take the top of this tree and line it up just right and now we’ve got a tree that looks a little more natural.
All right and so when we put the fox back in and the snow back in, now the house doesn’t compete with the front of his face. Also for the snow I think there’s too much covering his face and I think it’s just a little distracting and we could always use the eraser tool. And erase some of these snowflakes. But sometimes you might want these snowflakes back or you might want to move this snowflake layer around. If I erase all of the snowflakes that are covering up the foxes face and then I decide later on that I’d like to move these around, all of a sudden there’s a big patch where no snow is falling and that’s going to break the effect. So instead what I’m going to do is I’m going to put all of the snow back. So what we’re going to do is mask off the snow using a layer mask.
Now we talked about quick masks before but this is a special kind of mask that applies only to a certain layer. Let me give you a quick idea of how they work. We’re going to go file-open and grab fire.jpg and all of these images will be in the lesson so you can download these and experiment with them if you like. We’re going to press the T which means the text tool and we’re going write a word here. You can write whatever word you want. I’m going to write “fire.” Press enter. I’m going to press Control T and hold down shift to make it nice and big. Press enter. And I’m going to turn this layer into a selection by holding down Control and clicking on the thumbnail. On a Macintosh that would be command click on the thumbnail. Now we have our selection. We can go ahead and turn off this text layer now. Select the background layer. We’re going to travel to the bottom of the layer palette, and click this icon that looks like a square with a circle on the inside. Now what we have done is we have applied a layer mask to this FIRE image. You can see in the preview thumbnail that the black area of our mask is blocking the pixels – it turns them transparent and the white area is allowing them to shine through. The nice thing about a layer mask is if you click this link in the middle and you unlink these two you can grab the original image and press V for move and you can move around the background image without affecting the mask so you can get different effects.
That’s just a very, very quick example of a layer mask.
Let’s go ahead and go back to our main image. And we’re going to click on the snow layer and we’re going to add a layer mask and we’re going to make sure that we have our paintbrush selected and the color black because we want to block these pixels. We want to blacken them out. We’re going to pick the color black. And a 70 pixel radius paintbrush. Let’s get rid of this big one here. Maybe we’ll get rid of this one on his ear and maybe this larger one that’s on his cheek and I think that looks ok. Let’s get rid of this one on his eyes to shine through. Great. Ok, let’s save our work and go on to the next step.
