As we've seen, layer transparency lets us put different objects and effects together in some powerful ways, like adding shadows, separating objects from their background, and making selections that match the contours and qualities of their subjects. But transparency isn't the only way for layers to interact with each other. You can also use blending modes to combine colors, textures and tones together in surprising and artistic ways.
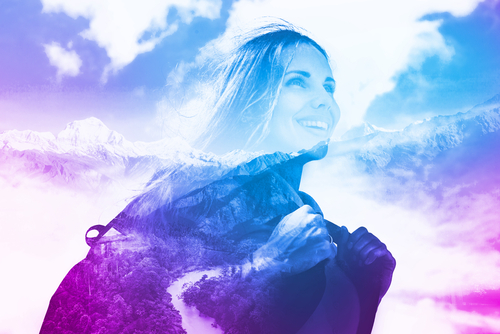 Blend modes were used to overlay this photo with bright colors, creating an artistic effect. |
Blending modes compare the color information of the top layer and the background, and apply different calculations that add, subtract, multiply, divide, or otherwise change the color values. There are several different blending modes, with names like "color dodge," "linear light" and "luminosity." They can seem intimidating at first, but like most skills in raster image editing, the best way to learn is just to experiment and have fun; you'll be amazed at what you come up with!
Download these three images and open them in your image editing software.
 |
 |
 |
 |
 |
 |
In this tutorial, we'll use blending modes to add some snowflakes and a moon to our composite image.
![]()
NARRATOR:
All right so here we have our fox and he has been popped out of his background. And I think it would be interesting to put him in a new environment. And one of the ways we’re going to do that is we’re going to use blend modes.
You can find blend modes here in the layers palette. It’s defaulted to normal but it has all these different options. I’m not going to go through every one of these options. It’s really useful to explore these on your own. But I do want to give you a quick example of what they look and how they work.
Here’s an image. This is the image straight from the camera. And I’ve created a new layer. And this is just six very simple swatches that fade to transparent as they go to the left. 100% black, 50% gray, 100% white, red, green and blue. Right now we’re on the normal blend mode so the only thing these layers are interacting with is transparency. If we go to the first one, dissolve, this one sort of dissolves the transition in a pixely, kind of grainy way. Darken.
Multiply. Now what multiply does, is it looks at the two layers. And if there is information on the top layer that is darker than the information on the bottom layer, it multiplies them together. So as you can see it added the red and the green and the blue, to the information beneath. It just merged them together, but since this swatch here was pure white, it didn’t change anything. There was nothing to multiply, there was nothing darker to add. Here on the top since this was pure black, you can see that it did add some darkness to this top swatch.
That’s multiply. Color burn. Linear burn. Darker color. Now we’re in to the lighten blend modes. Screen is the opposite of multiply. You’re going to use multiply and screen a lot in compositing and just like multiply, screen looks at the two layers but this time it looks to see if the top layer has any lighter information and if it does it adds it to the bottom later. So again, since the top swatch was pure black, nothing changes at all. It’s exactly the same. But since this swatch right here was white, it’s going to add that white information to the bottom layer.
Color dodge. Linear dodge. Lighter color. Overlay. Soft light. Hard light. Vivid light. Linear light. Pin light. Hard mix. Difference. Exclusion. Subtract. Now we’ve got cyan, magenta, and yellow instead of red green and blue. Divide. Hue. Saturation. Color. Luminosity. So that’s a quick run-through of all of the blend modes. They’re all going to work differently depending on what your top layer and bottom layer are doing. You can get some really surprising and really nice effects by experimenting with these different blend modes.
Let’s go back to our fox. And I decided I would like to put this fox in the snow. So the first thing we want to do is we want to go file – open -and we’re going to find snow.jpg and you should have downloaded this image. And we’re just going to select all, edit, copy and we’re going to go back to the fox and edit paste.
And we’ll put this snow in a new layer and let’s name this “snow.” Now this image has covered up our fox entirely. We just want these snowflakes. We don’t want this black background. However with blend modes, we don’t have to try to select each of these snowflakes. That would be a huge headache. All we have to do is we have to pick the blend mode that will add the white but forget about the black and the blend mode that we need is called “screen.” All of the information is going to basically be transparent and the white information – the snowflakes - that we want to keep are going to be visible.
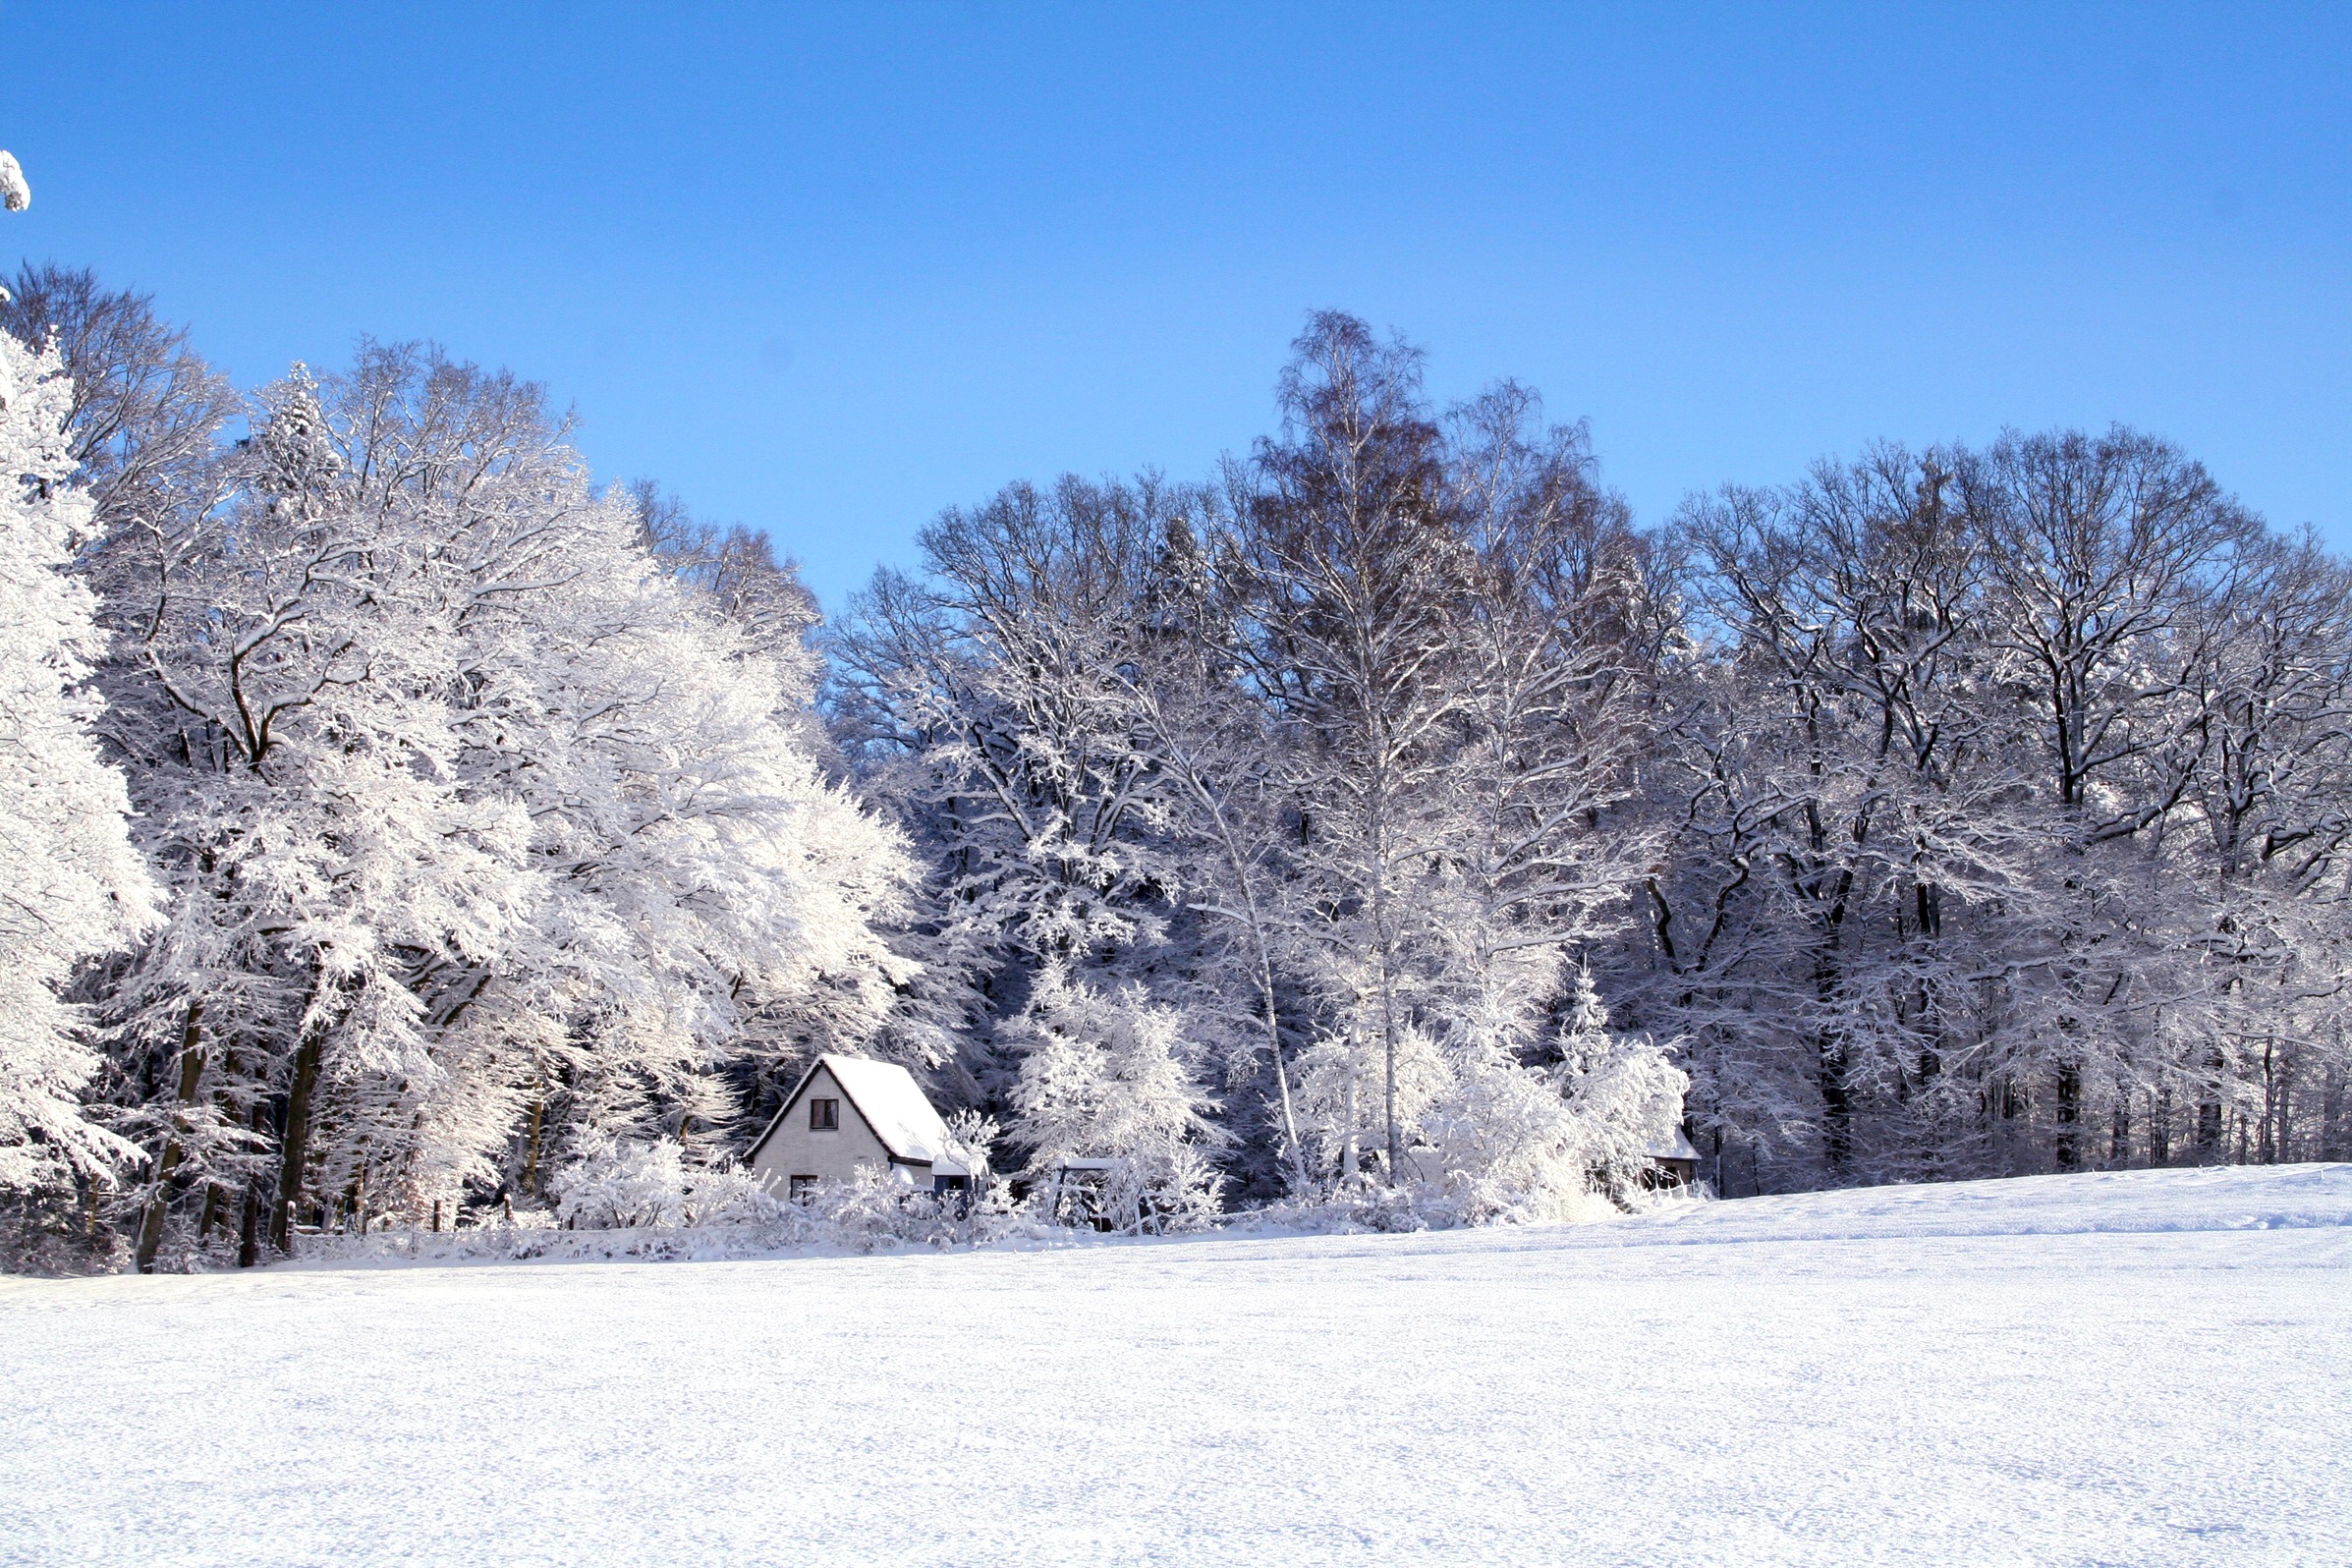
So our next step is to give this a more interesting environment. Right now it’s just a solid black background. Let’s go ahead and say file- open and we’re going to find snowbg.jpg and this is a nice snowy day and we’re going again go select all – edit – copy and we’re going to go back to the fox and we’re going to say edit – paste.
Now we’ve put this background image behind the snow and behind the fox in the layer palette. We’re going to call this background. We’re going to throw out our old background. We don’t need it anymore. And I’m going to go Control T to resize our background. All right so we can see without the snow, there’s no snowflakes in the sky. It looks like a calm day. When we add the snow back in, it looks like the snow is falling. That’s looking pretty nice.
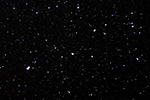
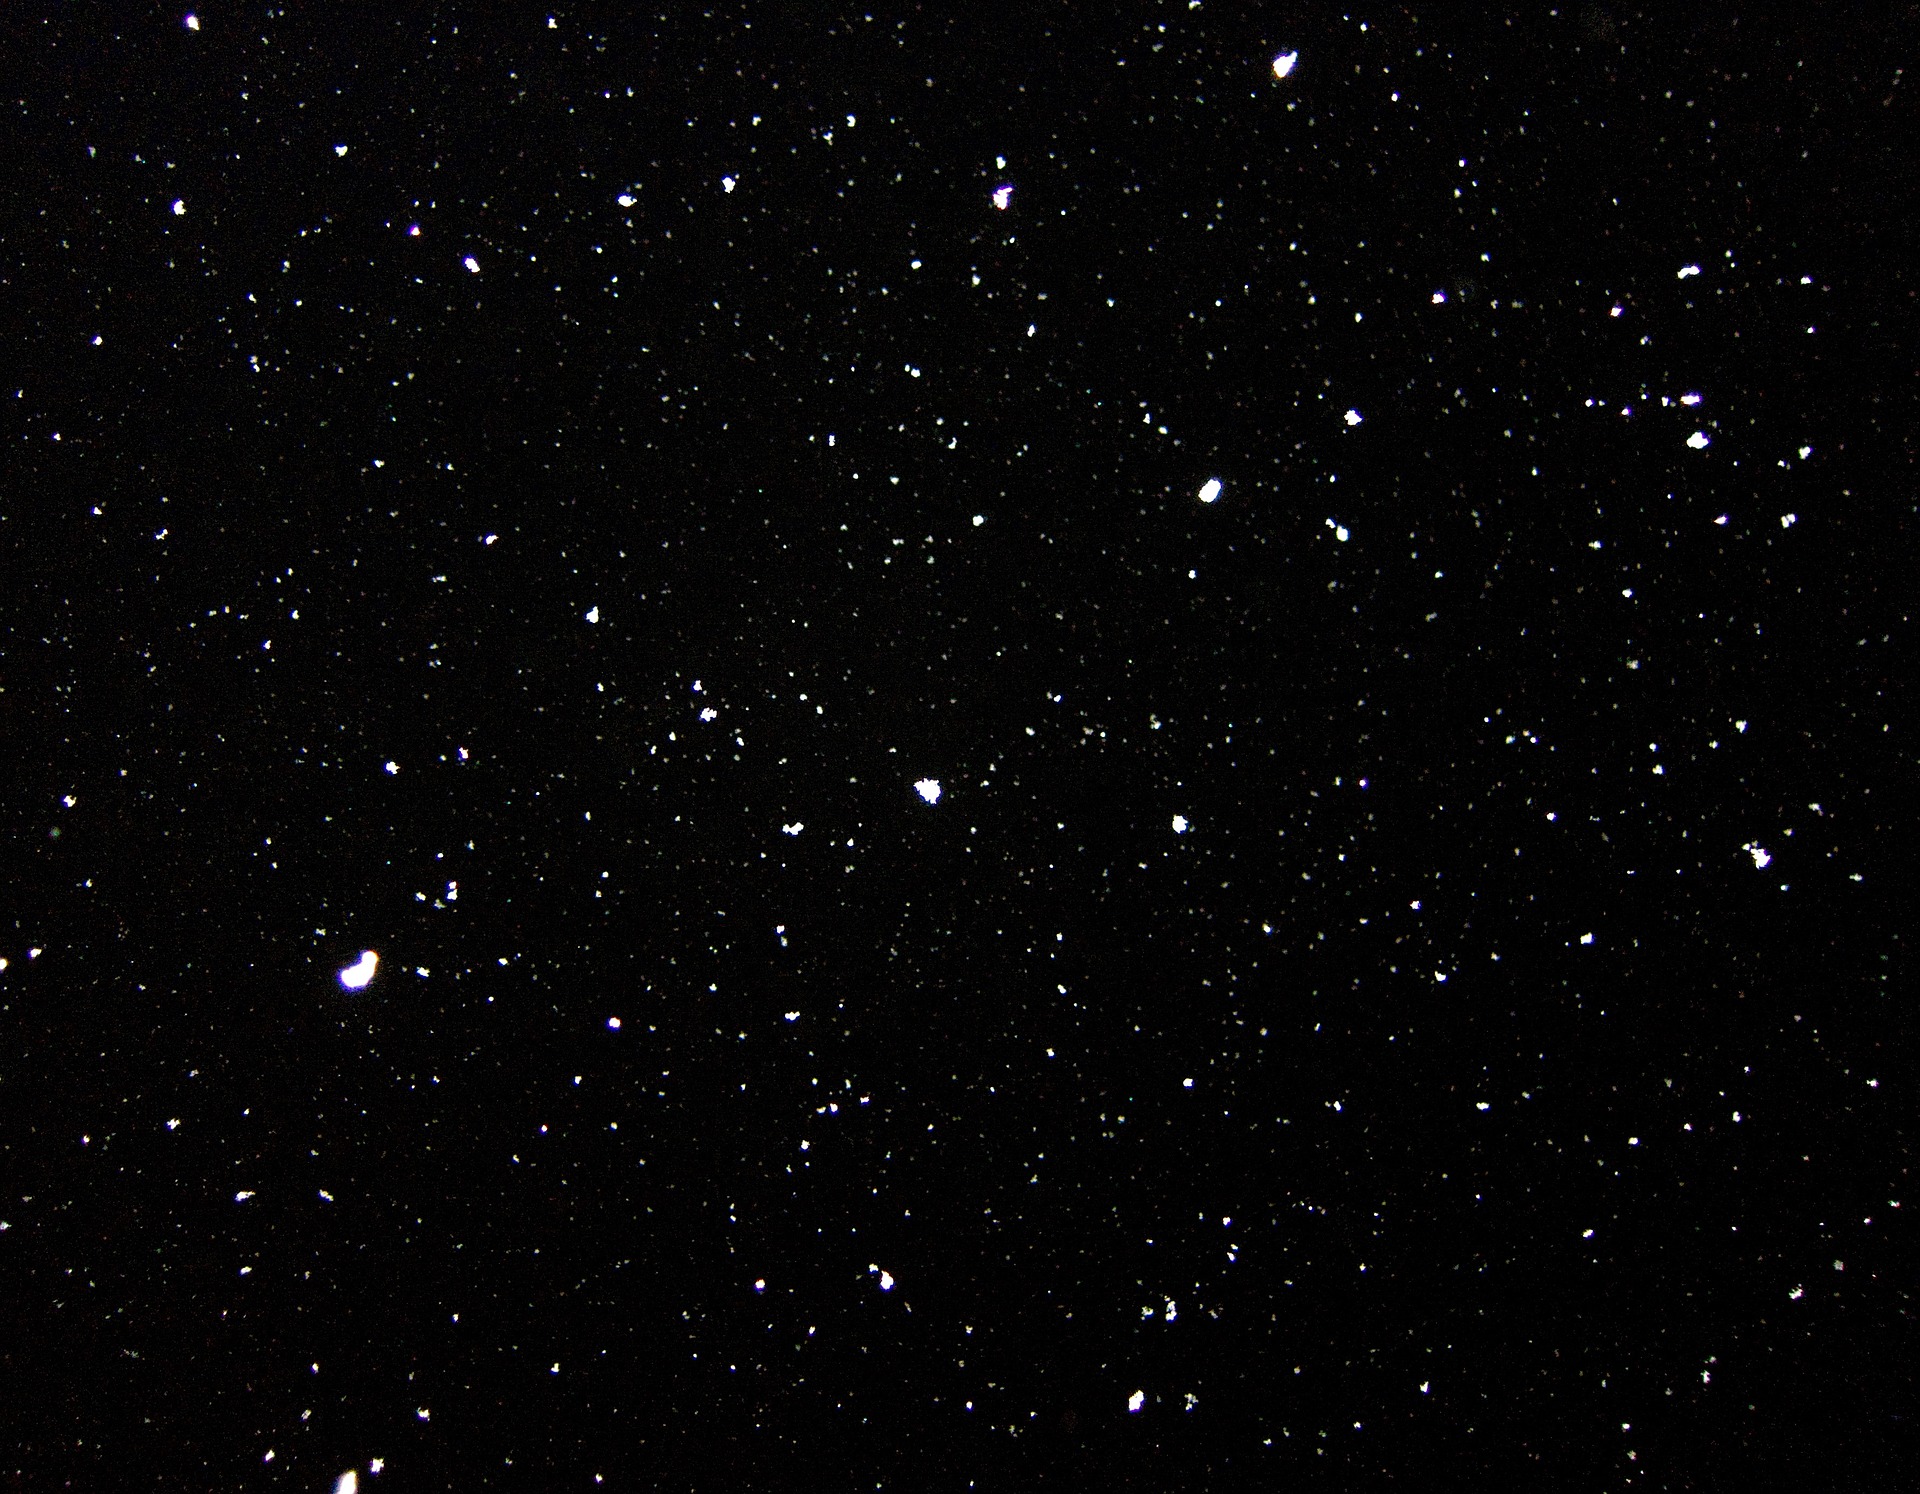
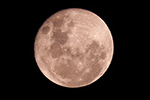
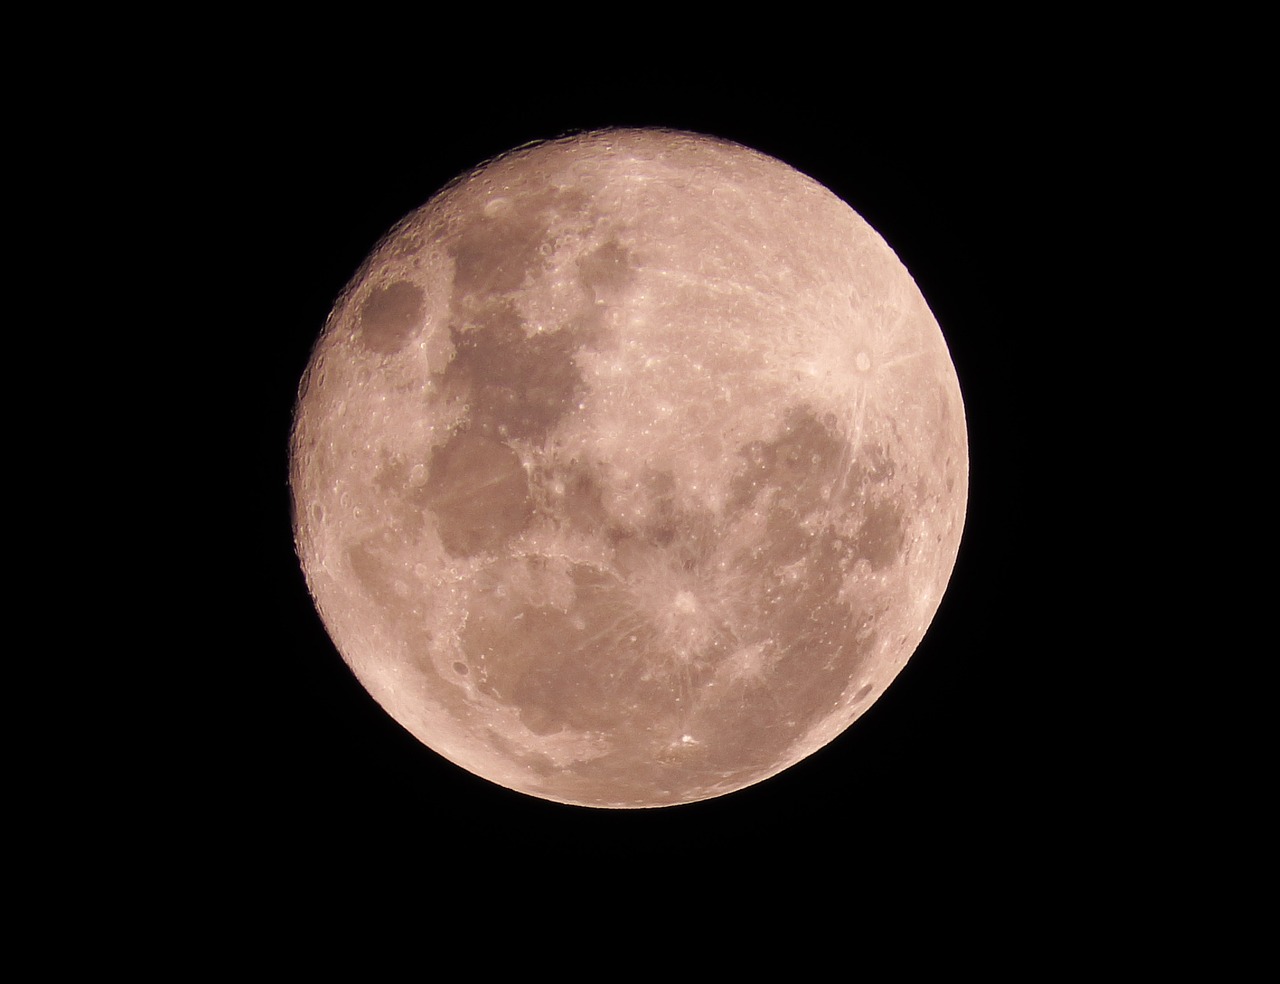
We could pretty easily add a moon to this scene. We’re going to go to file - open – click on moon.jpg and again we’re just going to say control A to select the entire image, control C to copy, go back to fox01, press Control V to paste. And I’m going to press control T to transform that image of that moon. I’m going to hold down shift while I resize it. Remember if you don’t hold down shift when you are transforming you lose the original aspect ratio of your transformation. If you do hold down shift, it keeps the height and the width at the same ratio so your moon stays nice and round. Ok, that looks about right. Press enter. We’re going to move this moon to the right position up here in the sky. And again, this doesn’t look right – it’s got all of this black space around the moon. We could go in and try to select that moon or much more easily we could go to the blend mode, screen. And suddenly the moon looks like it is right there and belongs in the sky.
All right let’s save this image as fox_02. And next we’re going to do a little bit of touch-up work and we’re going to adjust the color of this composition.
