Becoming proficient with pastels requires a slight learning curve, but they become easy enough to work with when you get used to them. In your sketchbook, try the following methods with your pastels. You may want to try these on both your sketchbook paper and on your pastel paper. Click through the slideshow to learn about each of the methods.
Drawing with the Pastel End
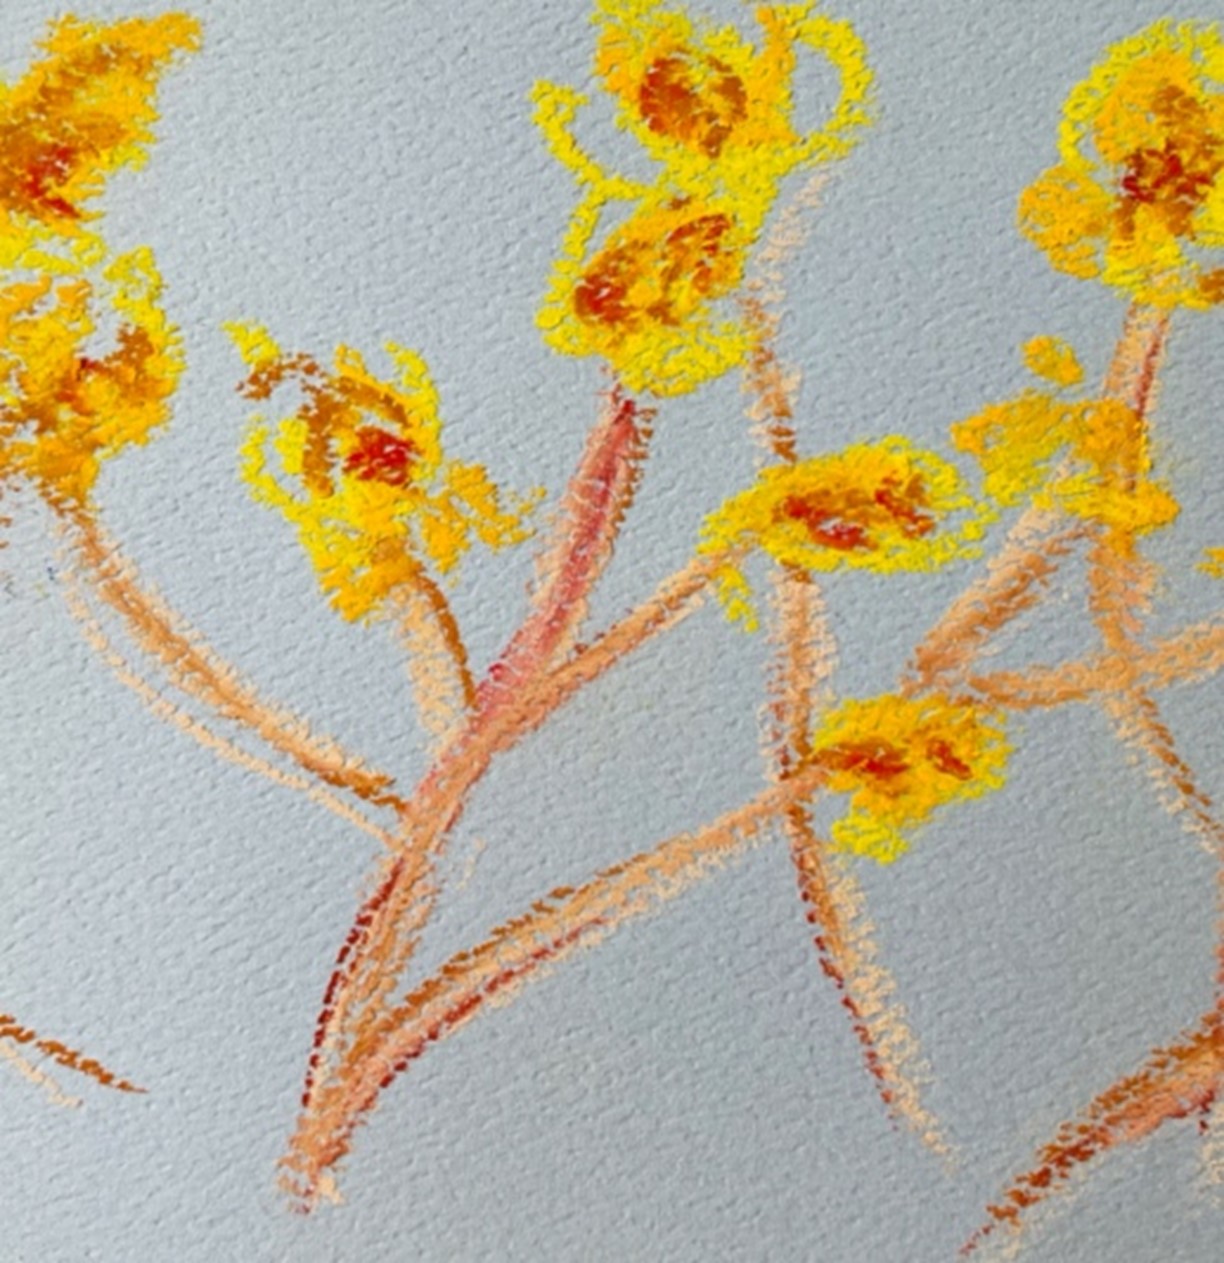
Pastels can be used to draw in the traditional sense. Use the end of the pastel to make sweeping and expressive lines. In your sketchbook, simply draw an object near you that is made up of mostly lines (flowers, trees, etc.). The line weight (thickness) can be varied by the amount of pressure you apply.
Drawing with the Pastel Edge
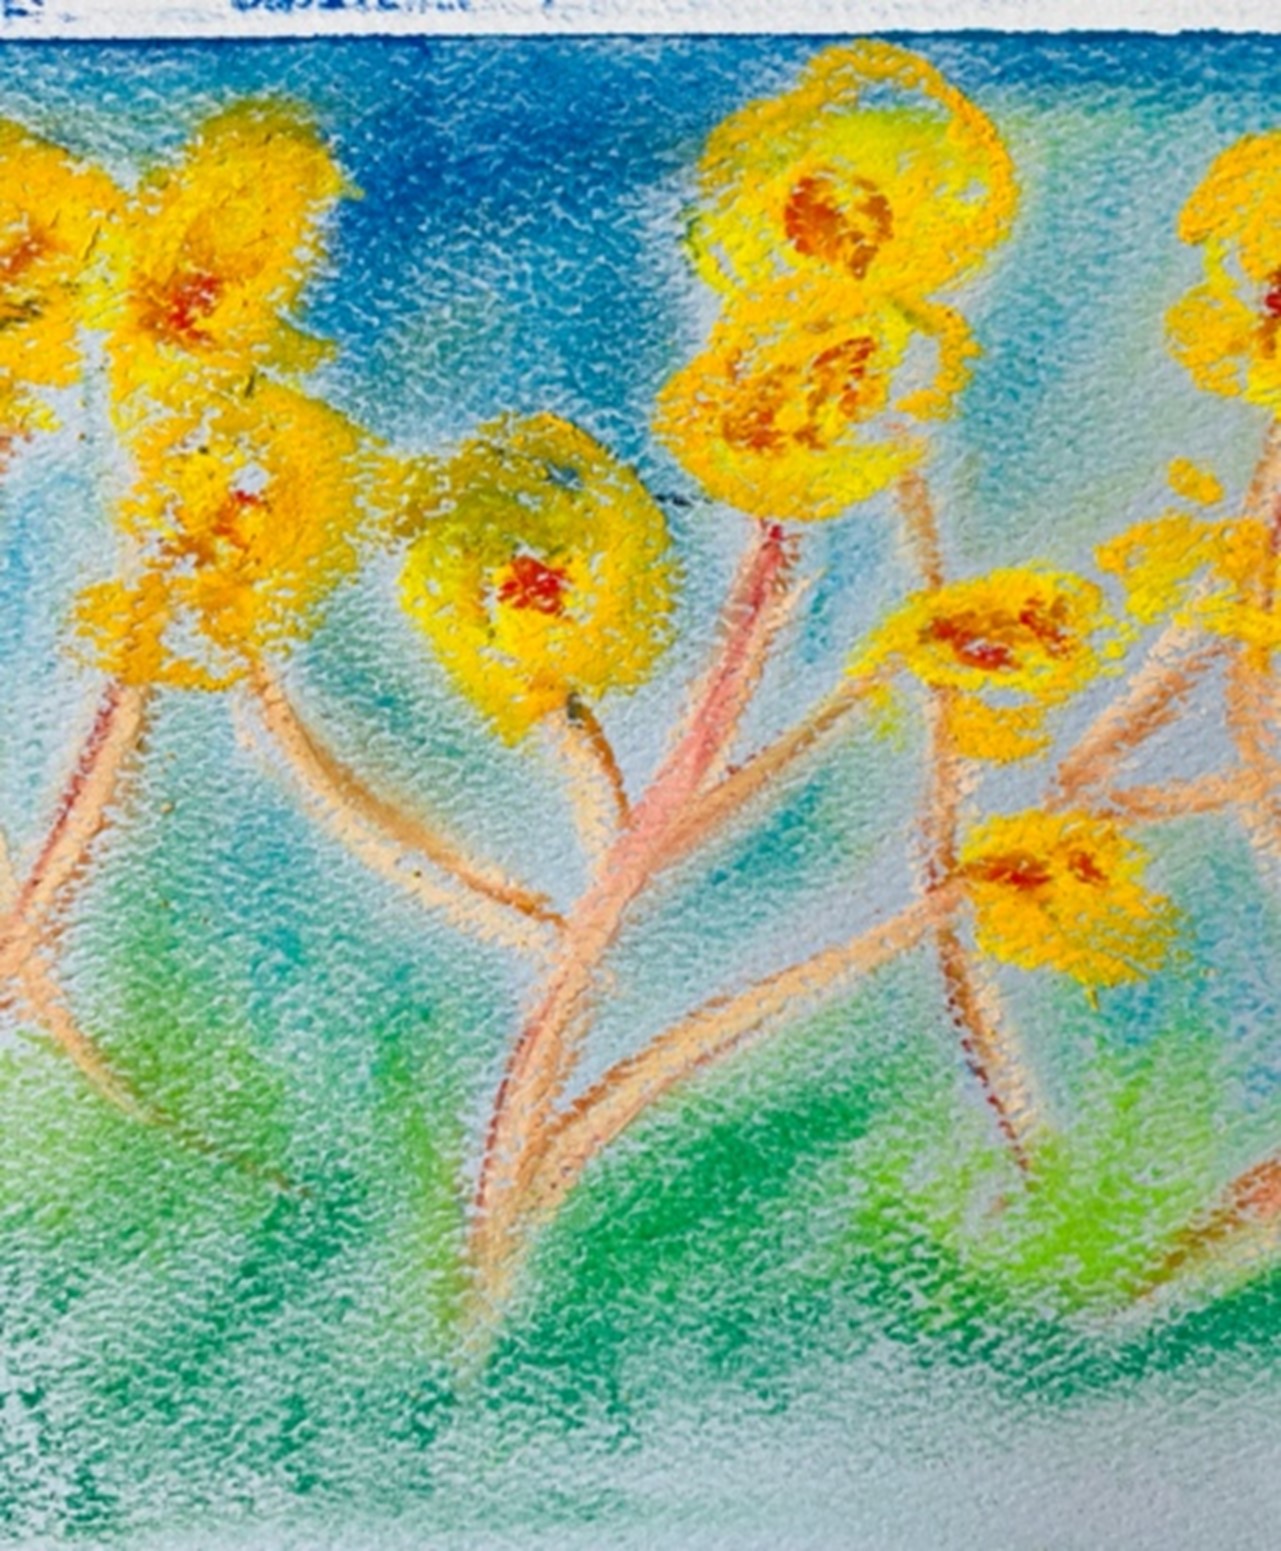
Using the pastel edge is a good way to lay down large areas of color. Pastels can even be broken into the size that is needed for the area you are filling in. Try creating a background for the object you drew for the first prompt.
Blending
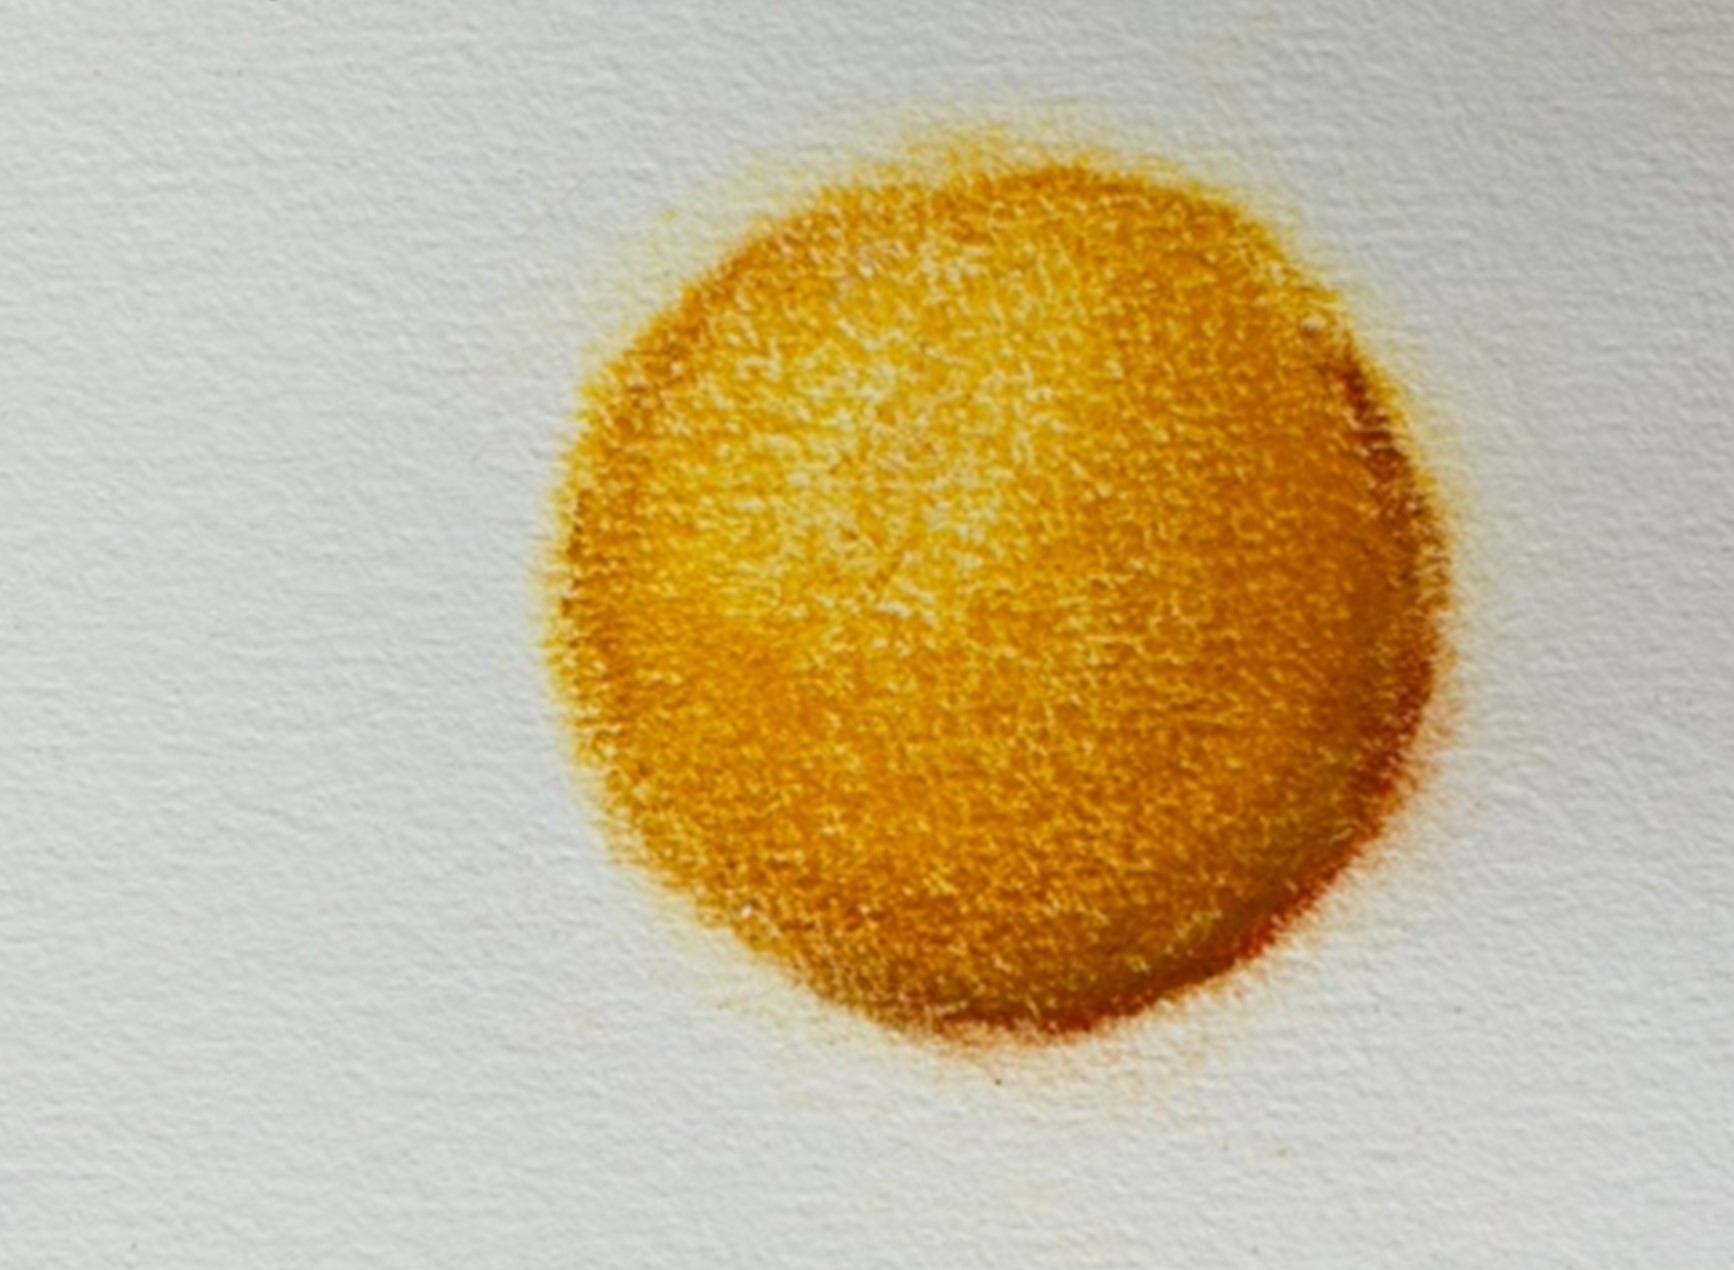
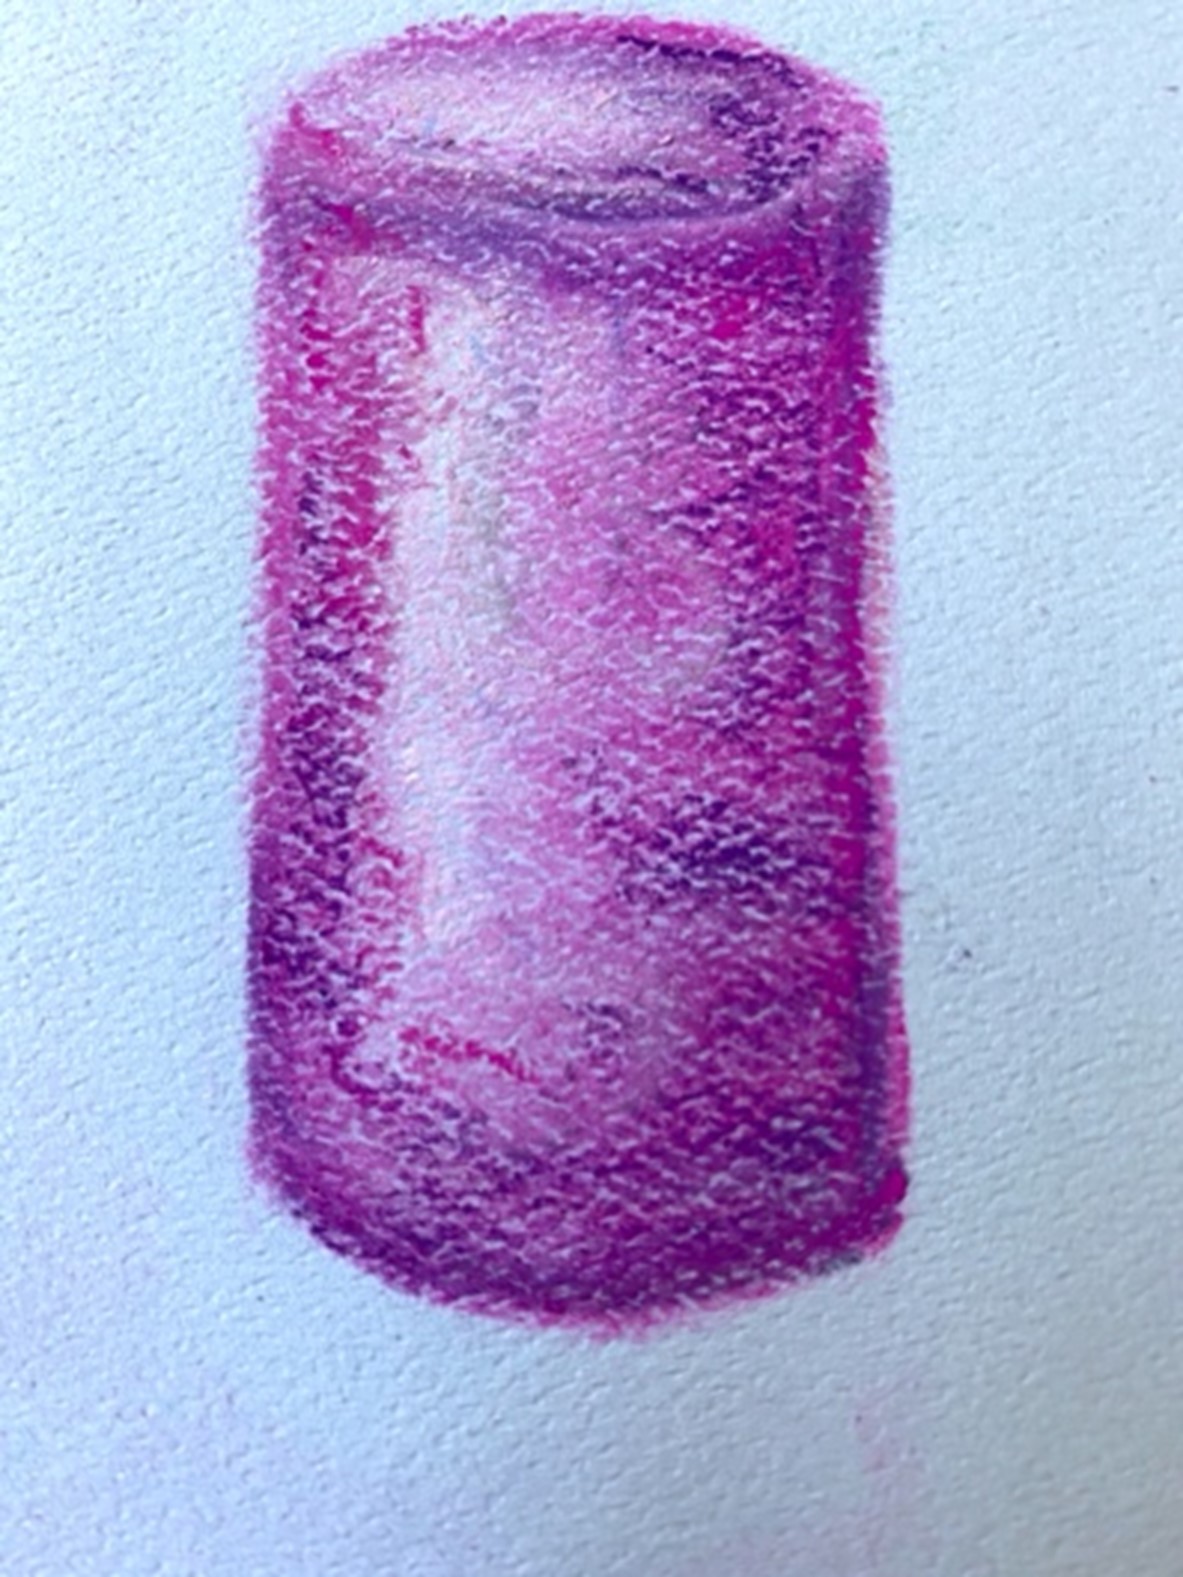
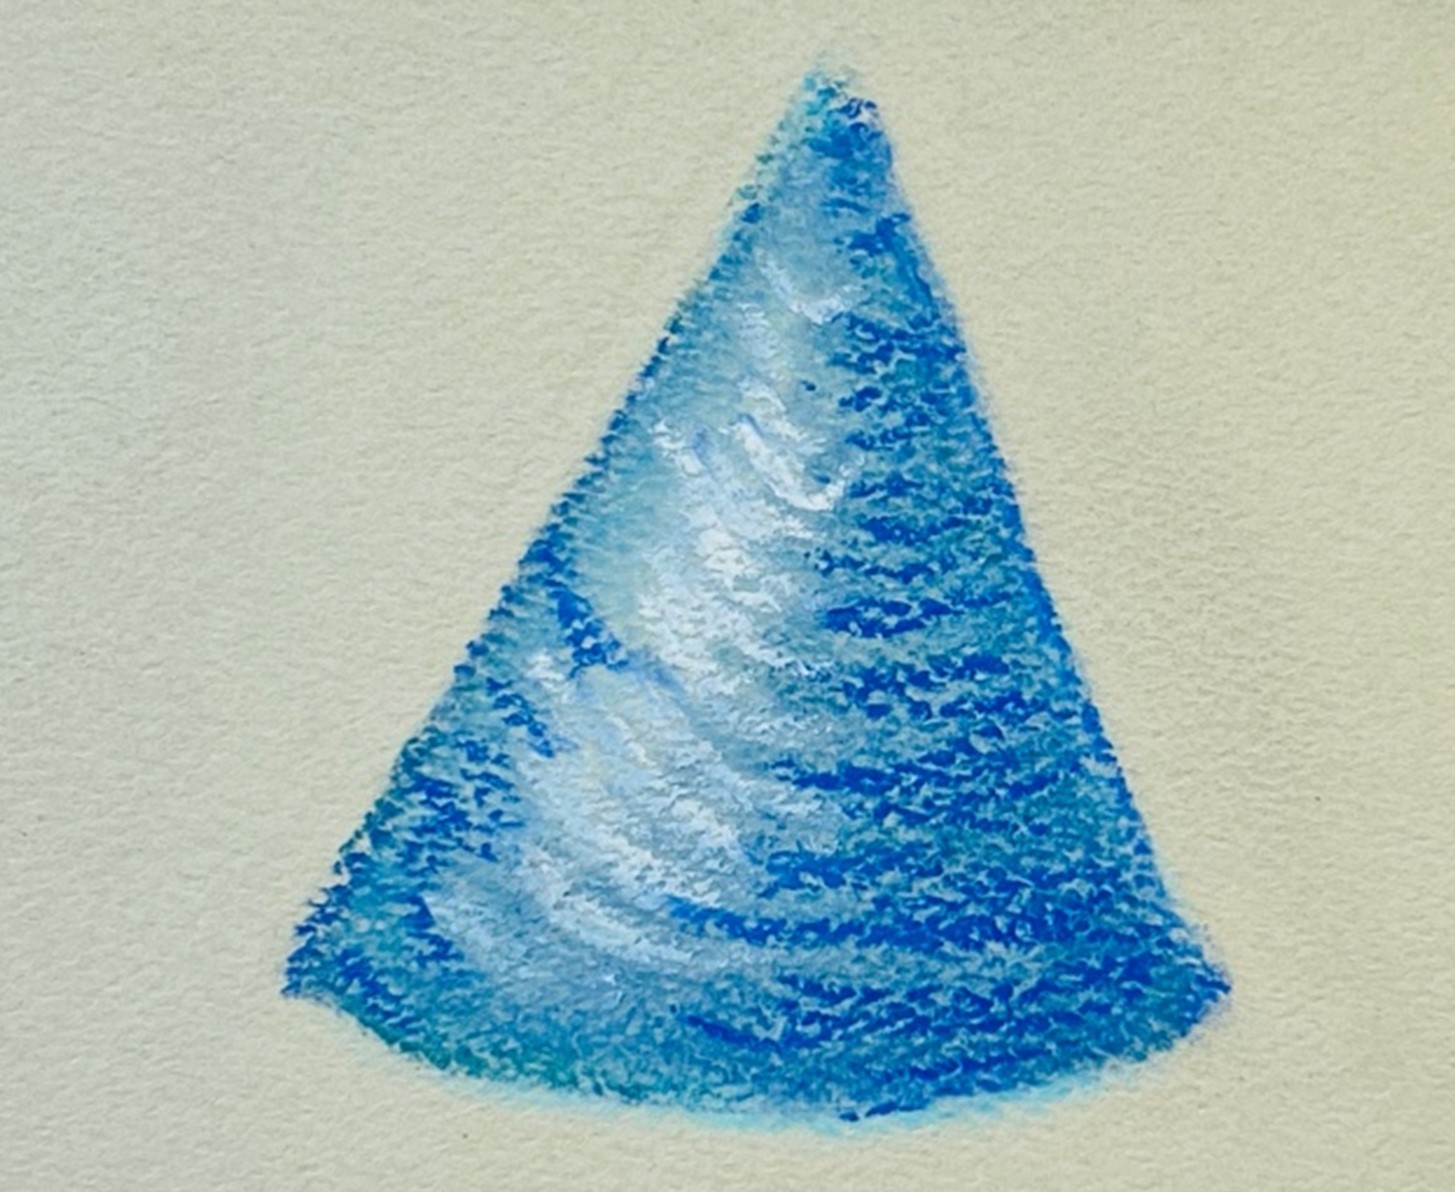
Blending occurs when the pastel pigment is pressed or rubbed into the drawing surface. Use blending when you need to create a smooth gradation of value. Try creating a simple object that has a value change (like a sphere or other three-dimensional shape) and use blending to create the gradient. Draw three more objects using different tools for blending, such as your fingers, a cotton bud (Q-tip), a paper towel, a blending stump (if you have one), or cotton fabric (towel or old t-shirt).
Scumbling
Scumbling with pastels is different than scumbling with colored pencils. When working with pastels, scumbling simply means to add pigment lightly. This can be done by lightly moving the pastel over the drawing surface or by lightly rolling it over the surface. The pigment or base underneath will show through with this method. This is great for creating texture and highlights. Try adding scumbling to two of the objects you created to practice blending.
Feathering
Feather is done by applying the pastel in short, quick lines and resembles the hatching done with other media. This method is great for creating details, like grass in a field, or for giving objects volume. It is also used, like scumbling, to create texture and highlights. Try using feathering on the other two objects you created while blending to enhance the effects of light and give the objects texture.
Pastels are a fairly intuitive media, meaning that if you play around with them long enough, you will learn the best way to work with them. However, there are a few tips and tricks that can make them easier to work with right away. Look at each image and see if you can guess what the tip is. Then click on the image to learn a tip for working with pastels.
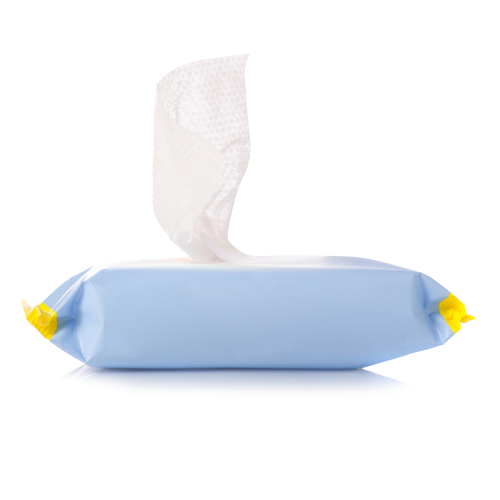
Having wet wipes with you will be helpful if you are a finger blender-type artist. It is important to keep your tools (fingers) clean so that you don't accidentally mix colors that you don't want mixed.
Eat cake while you work! Just kidding! This hint is referring to layering! Always work with small amounts of color and layer them on top of each other. This is how you get colors that have depth and brilliance. Working in layers also allows you to rework areas early on because there won't be too much pigment for you to erase.
Wax paper is a great tool for working with pastels. It can be used as a shield so that your artwork doesn't get smudged before you are ready to spray it with a fixative. Simply lay a piece of wax paper over your artwork before putting it away.
As with any medium, it is important to practice working with pastels to learn how they behave. Play around with them in your sketchbook until you feel comfortable working with them.
Text
Guided Notes
Tutor
Video
How To
Meet your new study partner! With our powerful Student Tools, your online learning experience just got more accessible,
personalized, and thought-provoking than ever before!
Do you feel like you learn better when you watch videos? You’re not alone!
Research shows instructional videos can make learners more engaged and active in online classes,
when compared to text-only lessons.
Student Tools lets you turn some lesson pages into videos instantly! Just click the Student Tools tab and select Video.
Remember, video instruction is not available on every lesson page.
Go back to the lesson page any time by closing the Student Tools window.
Sometimes when you learn, it can feel like you’re just not getting it. Maybe you don’t really know what all the words on
the page mean, or you have to read a paragraph two or three times to understand what it’s about.
If this happens to you, just click the Student Tools tab and choose “Text.” This will automatically
simplify the instruction, making it easier to understand and remember.
Go back to the lesson page any time by closing the Student Tools window.
The science is in, and taking notes is one of the best ways to reinforce your learning.
Notes work even better when you write them by hand, since you’re more likely to put complex new ideas
in your own words and remember them longer.
You can quickly and easily access guided notes, as well as key lesson vocabulary,
by clicking Student Tools > Notes. Choose a PDF or Word Doc,
and fill them out online -- or even better-- print them out and take notes by hand!
Go back to the lesson page any time by closing the Student Tools window.
Imagine a teacher you can contact anytime, who is happy to answer all your questions and
knows pretty much everything in the world about the subject you need help with.
Say, “Hello!” to your Tutor! Click on Student Tools > Tutor, and ask any question about your class.
Your Tutor is super smart! You can ask the Tutor to explain things more clearly, make connections
between ideas, or even give you custom quizzes and feedback. You can click the links under References to learn more.
Go back to the lesson page any time by closing the Student Tools window.
Student Tools lets you create your own Flashcard decks to help you study. To get started, click Student Tools >
Flashcards. Press Add New Set and give it a title.
Now, decide what will be on the front and back of your first card. It can be a term and definition, a challenging question,
or even a funny phrase that helps you remember something. Click Add Card to Set to make a new Flashcard.
You can delete sets or cards by clicking the trash can icon. When you’re done, click Save Cards to Set.
Now you can Review your deck. Read the front of the card, and think of the answer. Even better, say your answer out loud! Then, click the card to flip it over.
Depending on how you did, you can either keep that card in the deck to study again by clicking Next or Previous, or if you got it right, click remove.
Remember to review your flashcards often, space out study sessions, and keep practicing until you know them all!
Go back to the lesson page any time by closing the Student Tools window.