The slides on each of the tabs below will show you how to construct perpendicular lines. Like before, you'll need to follow along in your notebook, so grab a pencil, a straightedge, and a compass.
|
Let's start by drawing a line with point K in the middle. You don't have to measure anything yet, just use your best estimation.
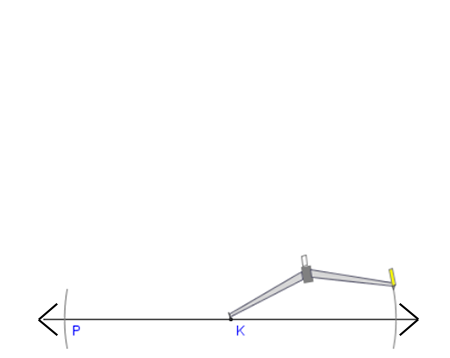
First, draw an arc that intersects the line to the left of K, and name the point P. Then, without changing the compass, draw an arc that intersects the line to the right of K, and name the point Q. So, now you have line PQ with the point K in between points P and Q. Because you did not change the compass settings, the length of segments PK and KQ are equal. Hmm…sound familiar?
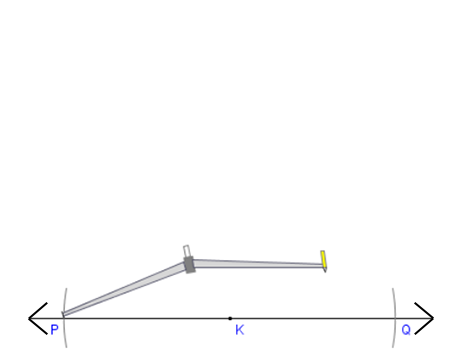
Now, with the metal tip of the compass on the point P, extend the width of the compass beyond point K.
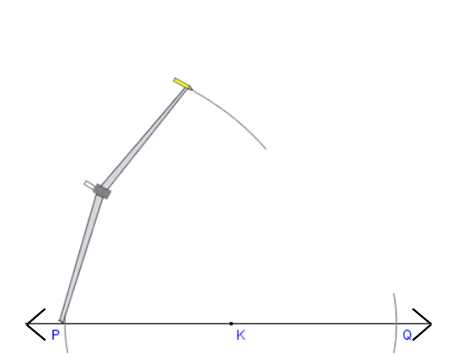
Again, keeping your metal tip steady on point P, you'll need to make a long arc over the point K. Make sure that the arc is big enough so that it is to the left and right side of the point K.
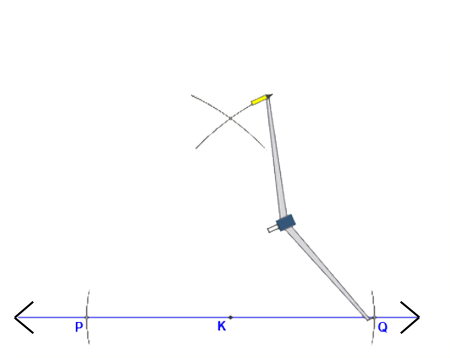
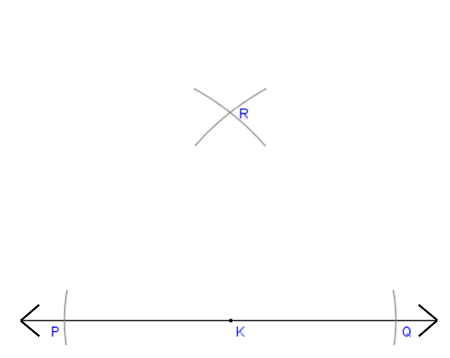
Then, we need to do a similar arc but on the right side. So using the same width of the compass, place the metal tip of the compass on the point Q. Then use the pencil end to draw an arc that crosses the first arc. The two arcs should form somewhat of an "X" above point K. Let's call the newly formed point R.
Here's what your image will look like at the end of this step. The new point R is directly over point K. If your points do not line up, then your compass measurements were off. If that's the case, erase point R and its small arcs and go back to slide 4 to try again. Now, do you see the final step here? Hint: You'll need your straightedge.
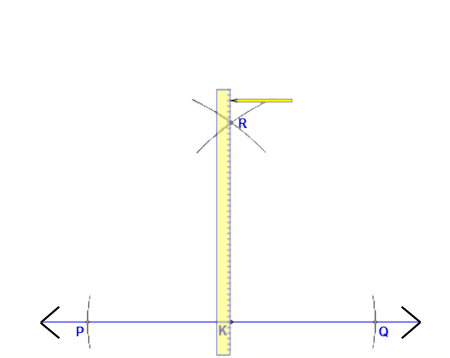
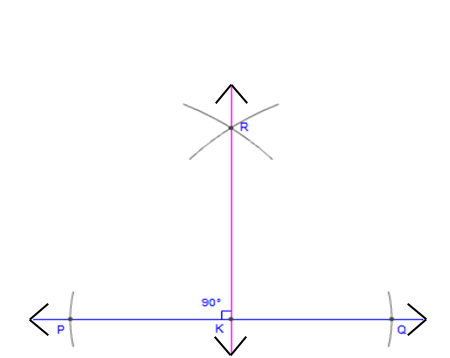
Draw a line through R and K to form the perpendicular line.
Voila! DONE. You have completed a construction of a line perpendicular to line RK. Line RK also bisects segment PQ, so it can be considered the perpendicular bisector of segment PQ. |

