Often called "fantasy landscapes," an imaginary landscape is one that is designed from the artist's imagination. This genre can have a broad interpretation, and it is one that has been explored by several artists throughout the past. Look at each of the following artworks and answer these questions about it:
Is it a landscape? How do you know?
Is it imaginary or true-to-life?
How do you think the artist came up with the idea for this artwork?
Do you like this artwork? Why or why not?
Click through the slides to view each image and learn more about the artwork.
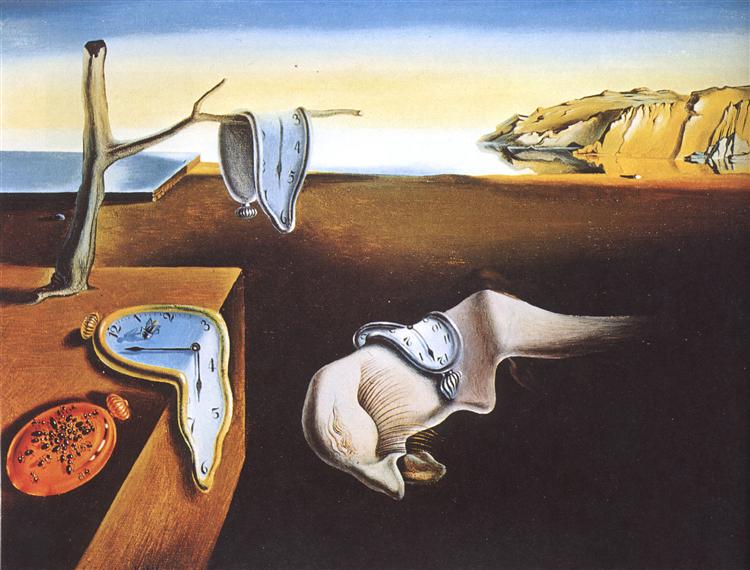
The Persistence of Memory by Salvador Dalí, 1931, Surrealism
This artwork is a landscape because of the horizon line and what looks like a seacoast with a cliff next to it. However, it is filled with unrealistic things, such as melting clocks and something that looks like a portion of a sleeping face. This dreamlike landscape is one of Dalí's most famous artworks.
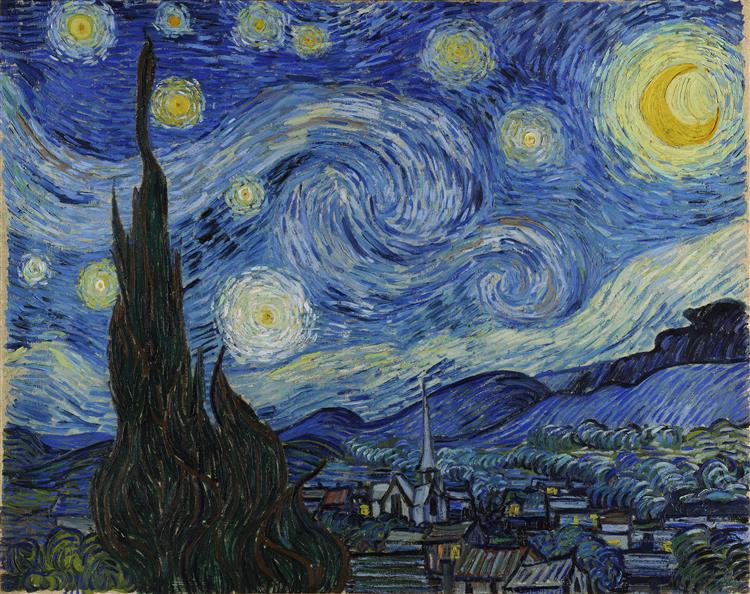
The Starry Night by Vincent van Gogh, 1889, Post-Impressionism
This artwork is also an imaginary landscape, even though it is based on a real place. Van Gogh painted this from his window that overlooked a small town; however, the sizes and forms of the tree, stars, and moon are all exaggerated to make them seem much larger than the town below. The combination of swirling marks, bold color contrast, and contrasting scales seems to communicate the vastness of heaven compared to small human lives.
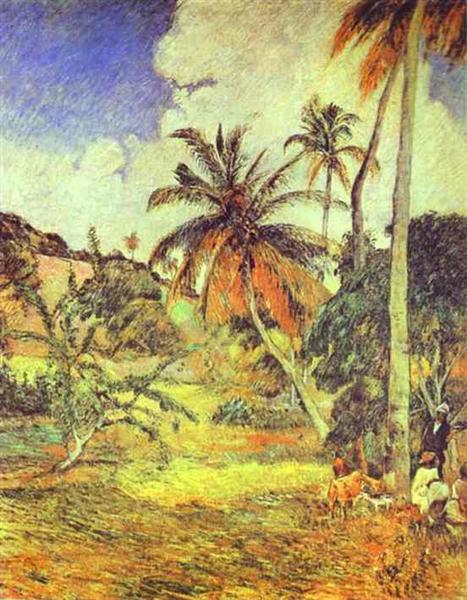
Palm Trees on Martinique by Paul Gauguin, 1887, Post-Impressionism
While the colors in this landscape may be slightly exaggerated, Gauguin does not push them to the point that they are unrealistic. This landscape is closer to realistic and, therefore, would not be considered imaginary. This looks like a place that could truly exist in the world.
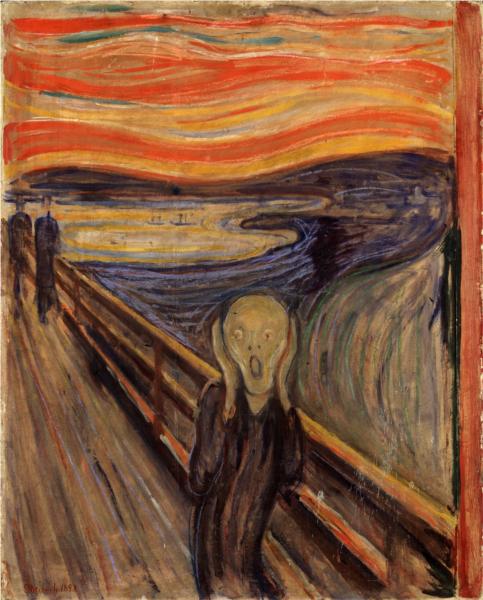
The Scream by Edvard Munch, 1893, Expressionism
While this is definitely a piece with a lot of imagination, it is difficult to decide if it is a landscape or a portrait. The main figure is fairly small, but it is big enough to be the focal point of the piece. This is something you will need to consider when doing your own work.
When planning an imaginary landscape, make sure that the main focus of your artwork is a landscape, cityscape, seascape, or cloudscape. This can mean that the other objects in your artwork fit into the landscape (Dalí) or that aspects of the landscape are exaggerated to the point where they aren't realistic anymore (van Gogh).
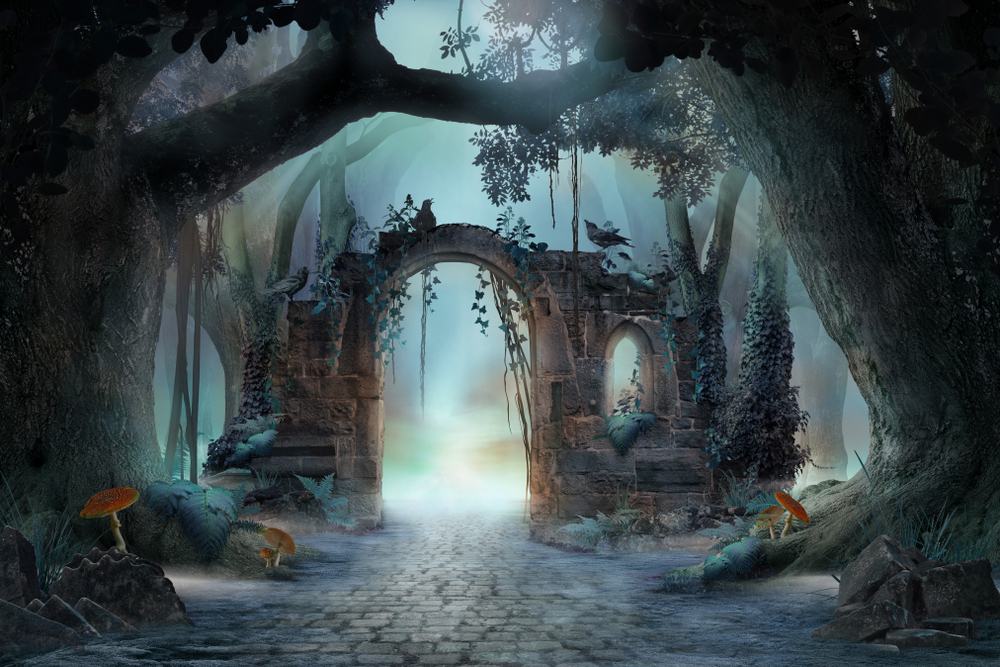
Another way to think of a fantasy landscape is to recall the landscapes in stories, such as Alice in Wonderland, The Wizard of Oz, or Peter Pan. Yet another idea is to create a landscape from the viewpoint of an ant or a giant. Imagine what a scene would look like to them. Study each of the following artworks. Does the lanscape look like a place where a fairy or an ogre might live? What kind of story does the landscape inspire?
Click on the images to enlarge them and learn more.
This landscape is a little eerie, and it is obviously enchanted with the large toadstools, misty background, and arched ruins. This looks like the entrance to a magical world you would see in a movie about fairies, witches, and other mythical beings.
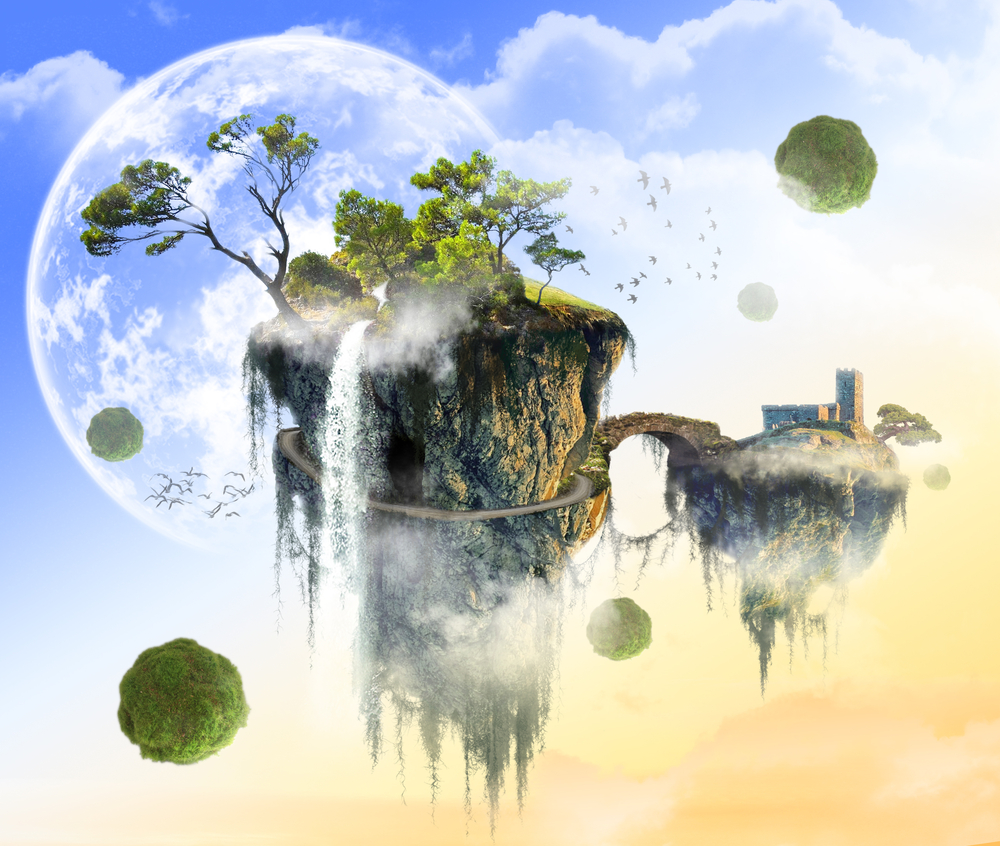
Fantasy landscapes are a great way to explore the impossible. What would it look like if there were floating chunks of the earth? What would it be like to live there? Artwork like this broadens people's imaginations and makes them think about how life could be different if the impossible were possible.
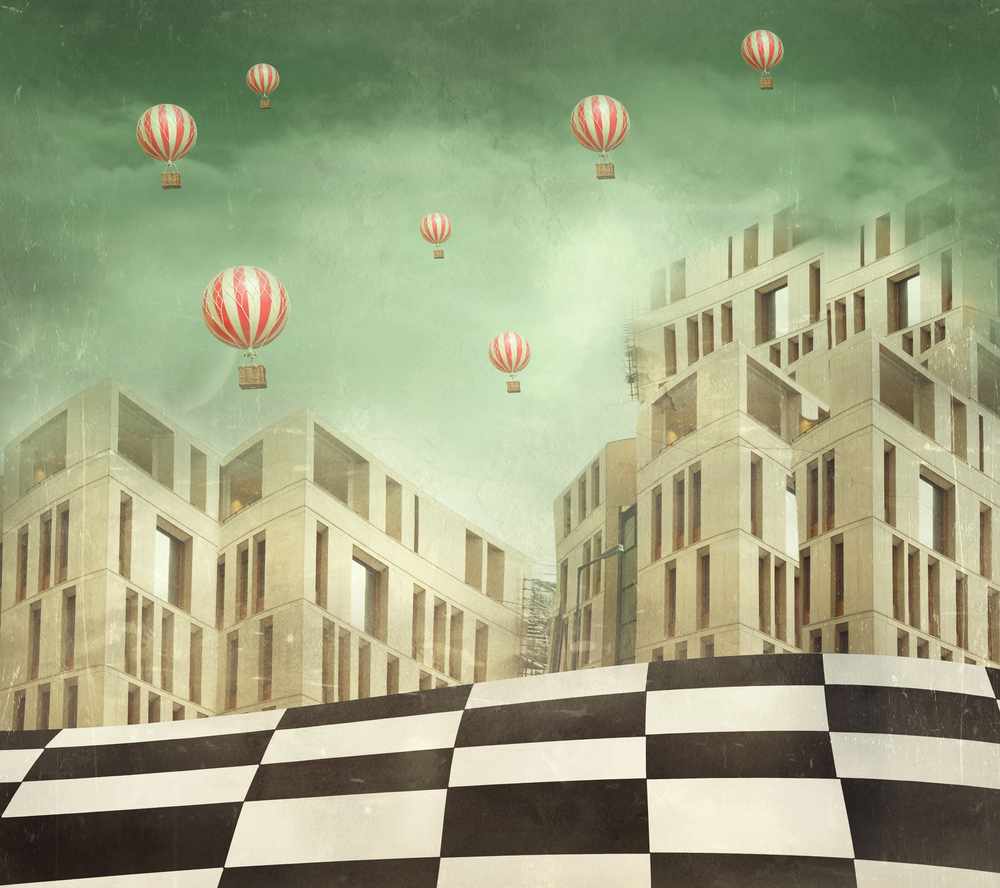
What comes to mind when you look at this cityscape? Do all the people who live in this city travel by balloon? How many of them live above the clouds? This artwork is minimal in its palette, which helps balance out all of the shapes and repetition. It is important to choose what you want to highlight and then tone down other aspects of your artwork so that it is not overwhelming to your viewers.
As you plan your imaginary landscape, you need to ask yourself what you intend to convey. Do you want to express a mood or a feeling (like van Gogh and Dalí), or do you want simply to create a landscape that is fantastic and mythical? Look back at the artwork on this page and sketch your favorite one. Quickly jot down the things you like about it, including details that catch your eye so that you can incorporate them into your final work.
Text
Guided Notes
Tutor
Video
How To
Meet your new study partner! With our powerful Student Tools, your online learning experience just got more accessible,
personalized, and thought-provoking than ever before!
Do you feel like you learn better when you watch videos? You’re not alone!
Research shows instructional videos can make learners more engaged and active in online classes,
when compared to text-only lessons.
Student Tools lets you turn some lesson pages into videos instantly! Just click the Student Tools tab and select Video.
Remember, video instruction is not available on every lesson page.
Go back to the lesson page any time by closing the Student Tools window.
Sometimes when you learn, it can feel like you’re just not getting it. Maybe you don’t really know what all the words on
the page mean, or you have to read a paragraph two or three times to understand what it’s about.
If this happens to you, just click the Student Tools tab and choose “Text.” This will automatically
simplify the instruction, making it easier to understand and remember.
Go back to the lesson page any time by closing the Student Tools window.
The science is in, and taking notes is one of the best ways to reinforce your learning.
Notes work even better when you write them by hand, since you’re more likely to put complex new ideas
in your own words and remember them longer.
You can quickly and easily access guided notes, as well as key lesson vocabulary,
by clicking Student Tools > Notes. Choose a PDF or Word Doc,
and fill them out online -- or even better-- print them out and take notes by hand!
Go back to the lesson page any time by closing the Student Tools window.
Imagine a teacher you can contact anytime, who is happy to answer all your questions and
knows pretty much everything in the world about the subject you need help with.
Say, “Hello!” to your Tutor! Click on Student Tools > Tutor, and ask any question about your class.
Your Tutor is super smart! You can ask the Tutor to explain things more clearly, make connections
between ideas, or even give you custom quizzes and feedback. You can click the links under References to learn more.
Go back to the lesson page any time by closing the Student Tools window.
Student Tools lets you create your own Flashcard decks to help you study. To get started, click Student Tools >
Flashcards. Press Add New Set and give it a title.
Now, decide what will be on the front and back of your first card. It can be a term and definition, a challenging question,
or even a funny phrase that helps you remember something. Click Add Card to Set to make a new Flashcard.
You can delete sets or cards by clicking the trash can icon. When you’re done, click Save Cards to Set.
Now you can Review your deck. Read the front of the card, and think of the answer. Even better, say your answer out loud! Then, click the card to flip it over.
Depending on how you did, you can either keep that card in the deck to study again by clicking Next or Previous, or if you got it right, click remove.
Remember to review your flashcards often, space out study sessions, and keep practicing until you know them all!
Go back to the lesson page any time by closing the Student Tools window.