Vision boards often start with a main image (the main inspiration for the artwork), and then smaller supporting images are added. Click through the slideshow to see how a digital vision board comes together.
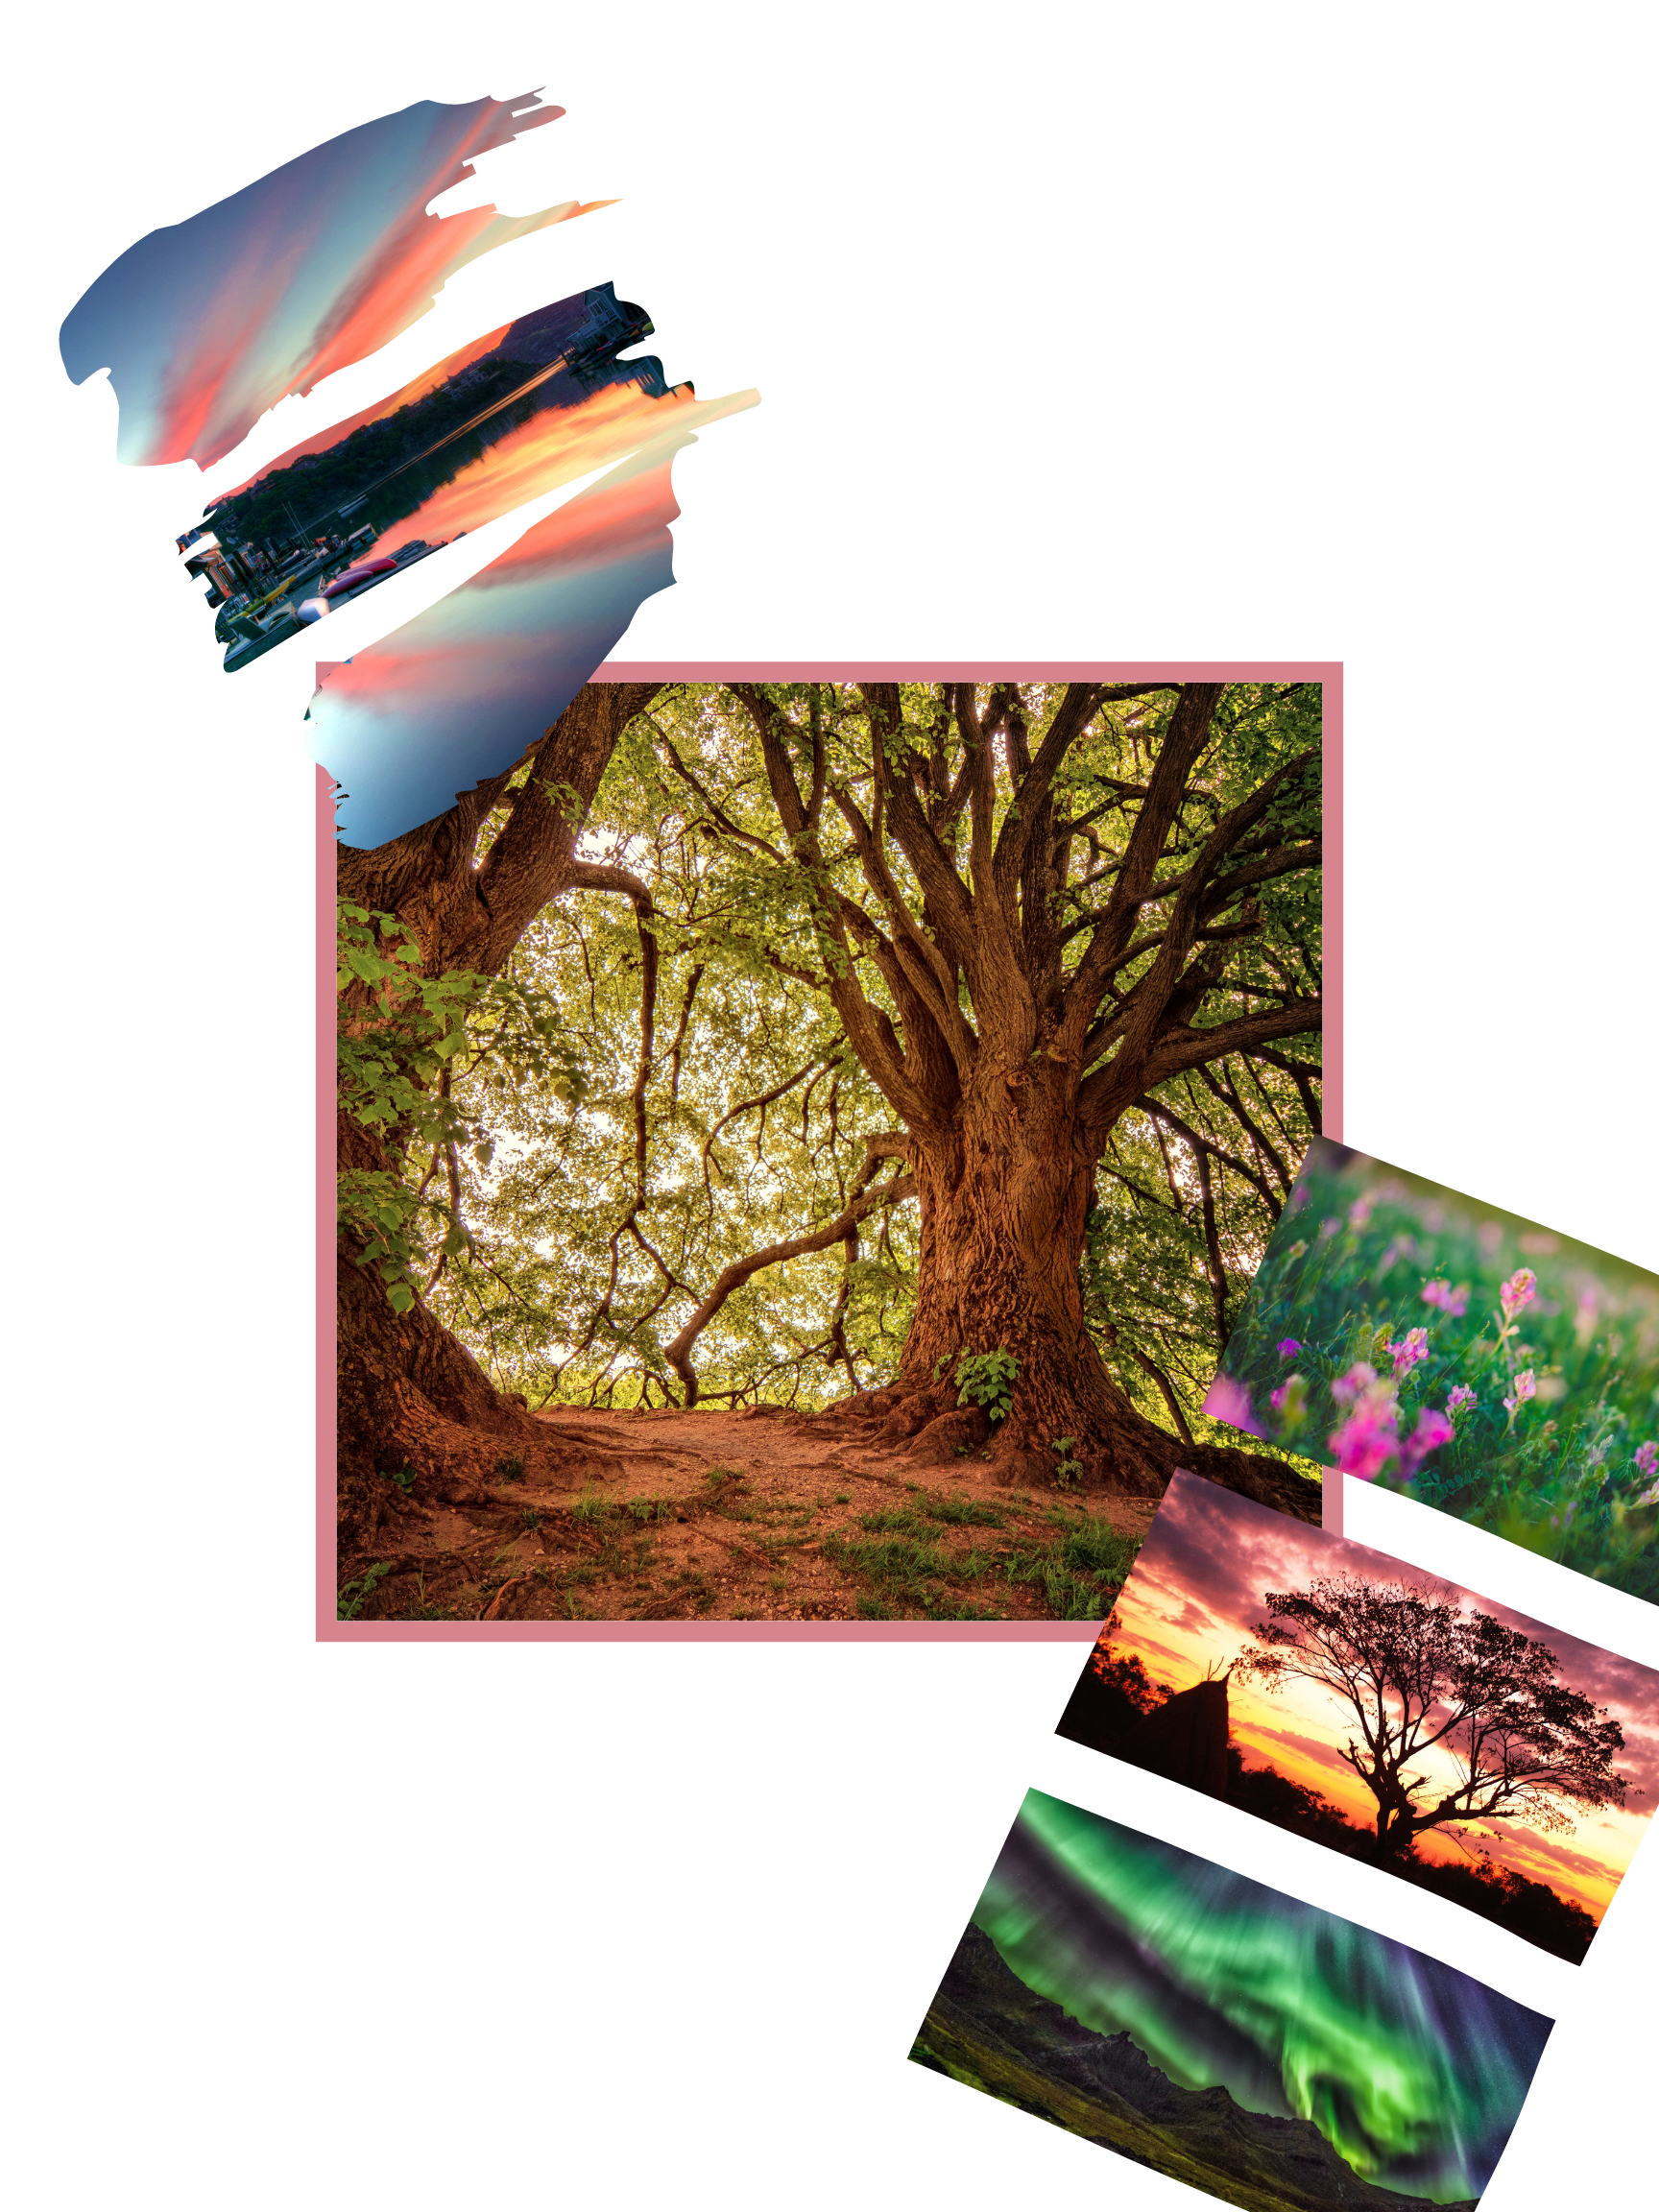
Choose your main inspiration.
Start with your main source of inspiration. This could be a picture you took or an artwork that inspires you. It could be a place that you know well or somewhere you dream of visiting. Take your time figuring this first step out because this is what your entire artwork will ultimately be about. Also, don't worry about the color; you can always change that later.
Build details.
Add pictures that begin to fit into the color scheme you want. In this case, the trees would be silhouetted against bolder background colors. You can also begin adding in details that you want to include, like flowers on the ground.
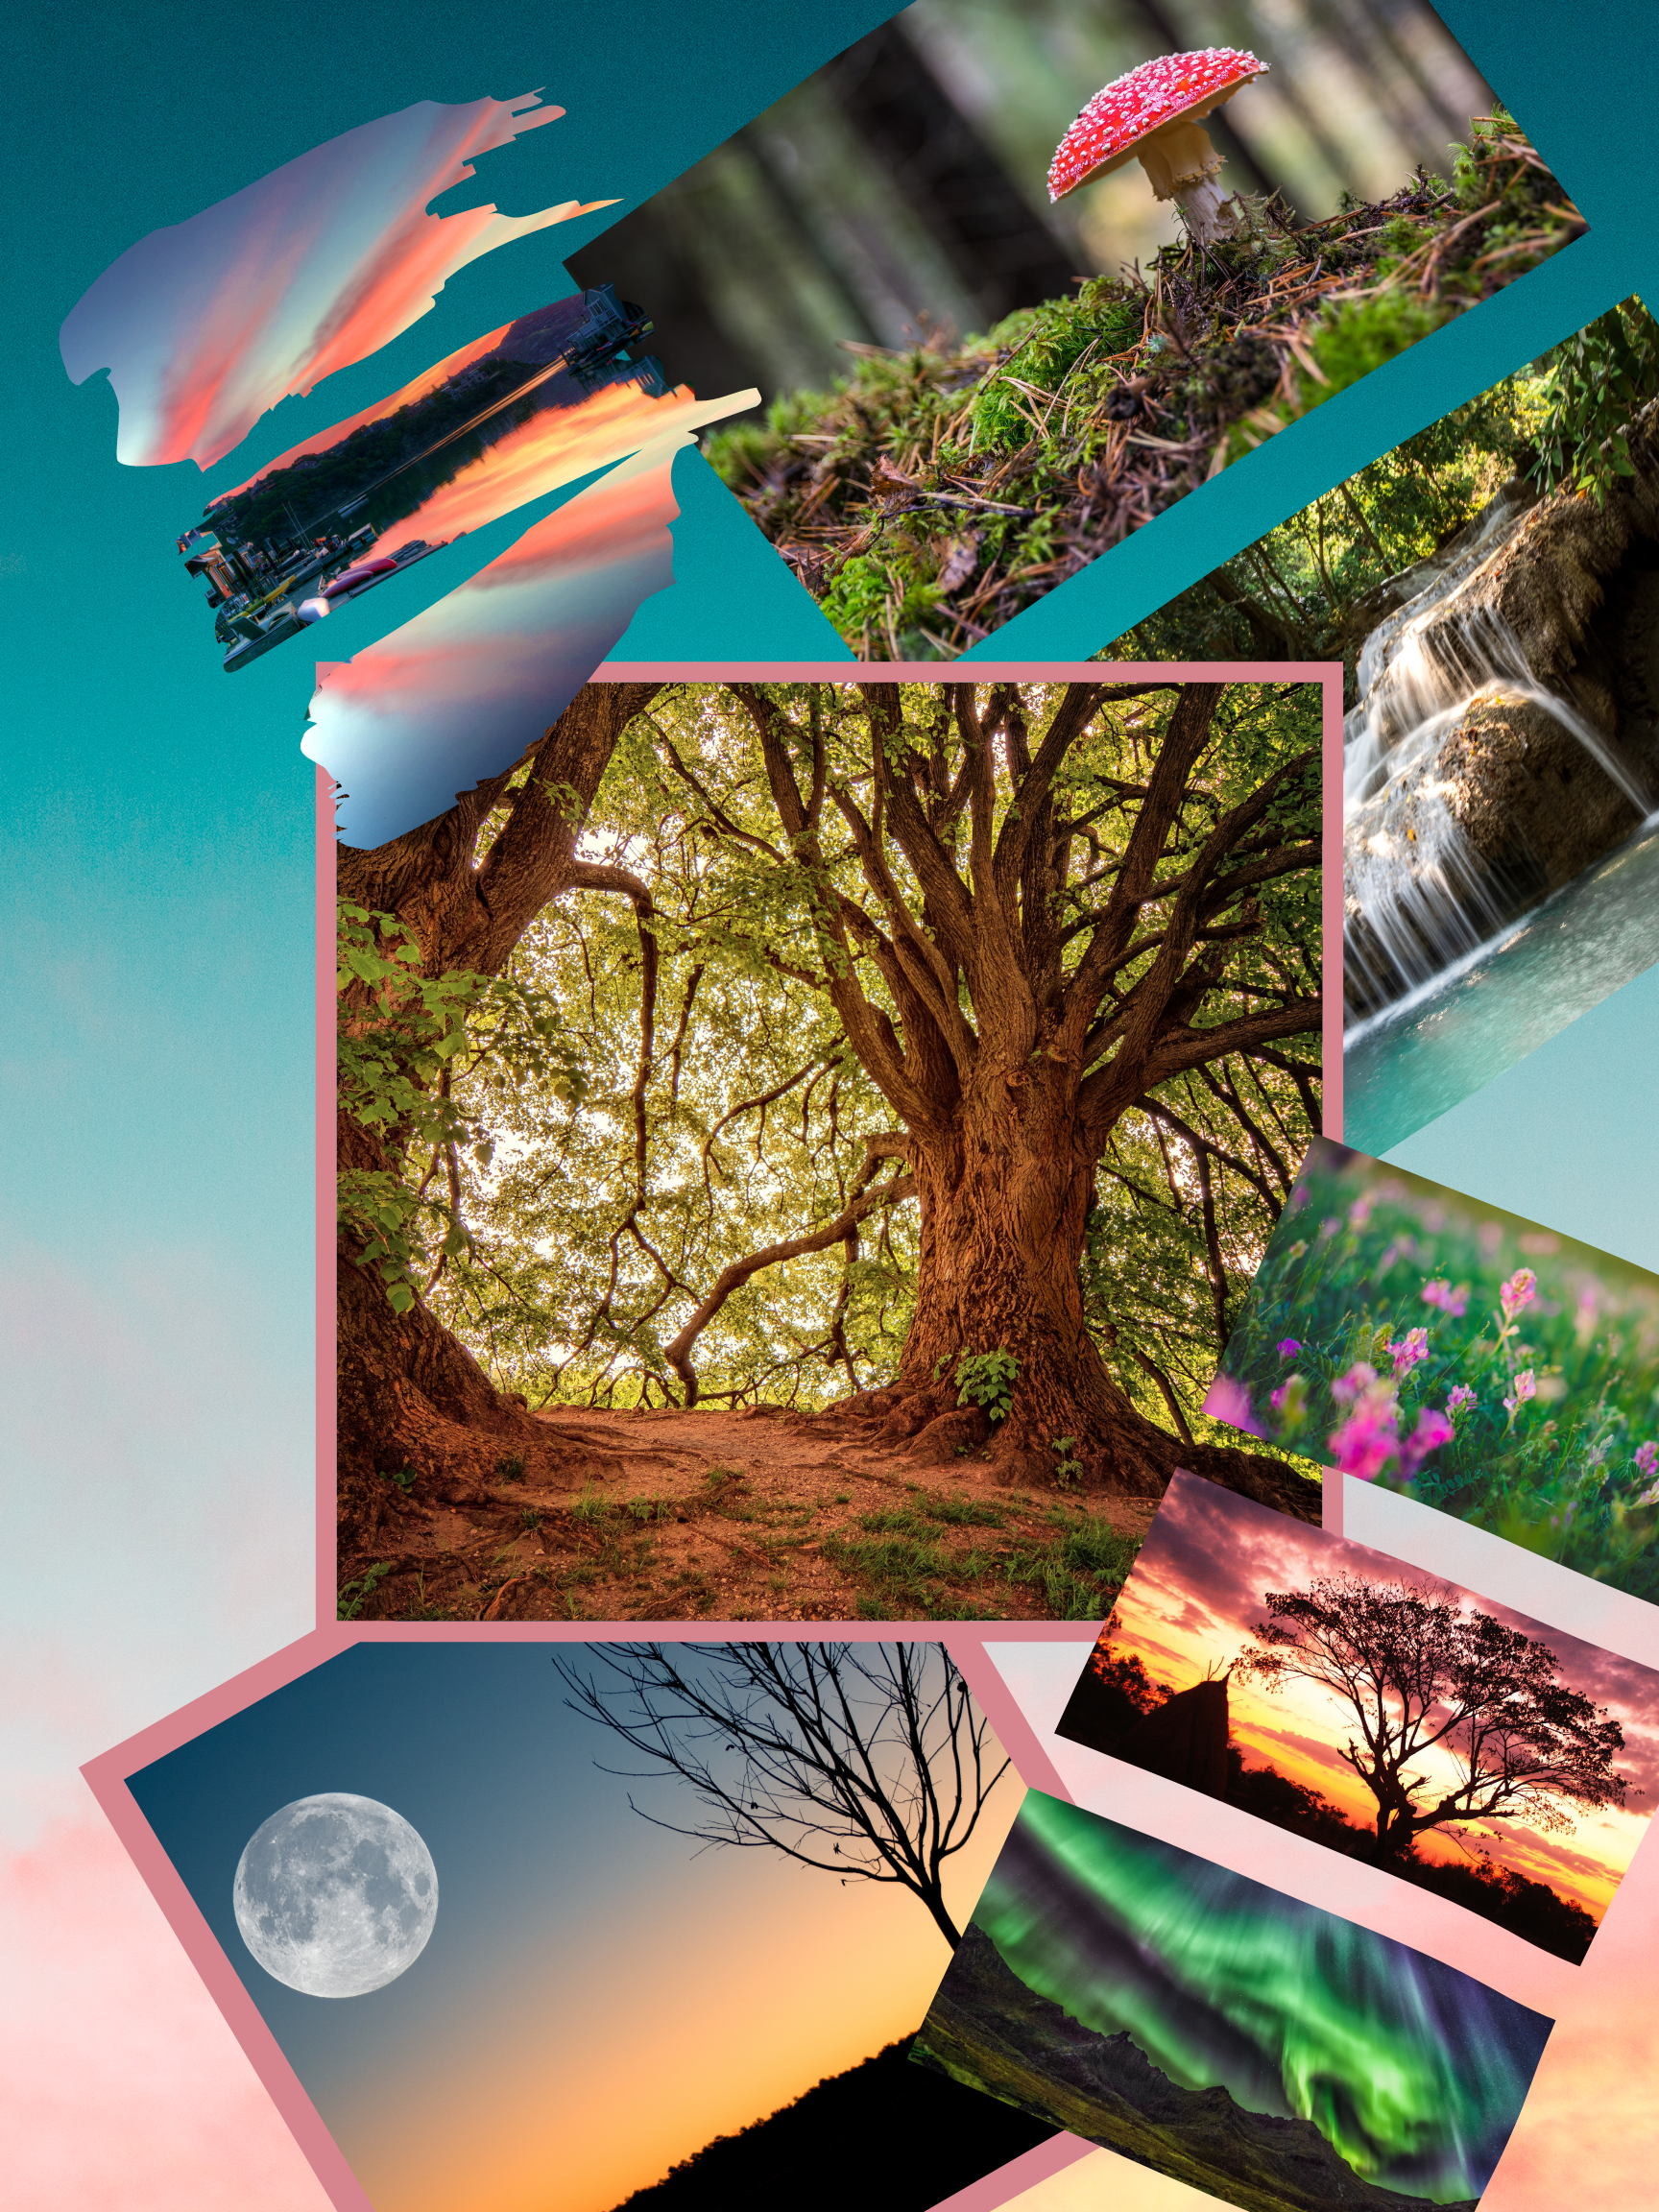
Add more elements.
Find more things that you would like to include in your landscape. In this case, the artist may add a large, bright moon and a waterfall. Mushrooms and mosses would also work well with this composition. You want to find at least 5 things to add to your composition. Also, remember that you can change colors in your final work, so the colors of your various elements do not need to be the same.
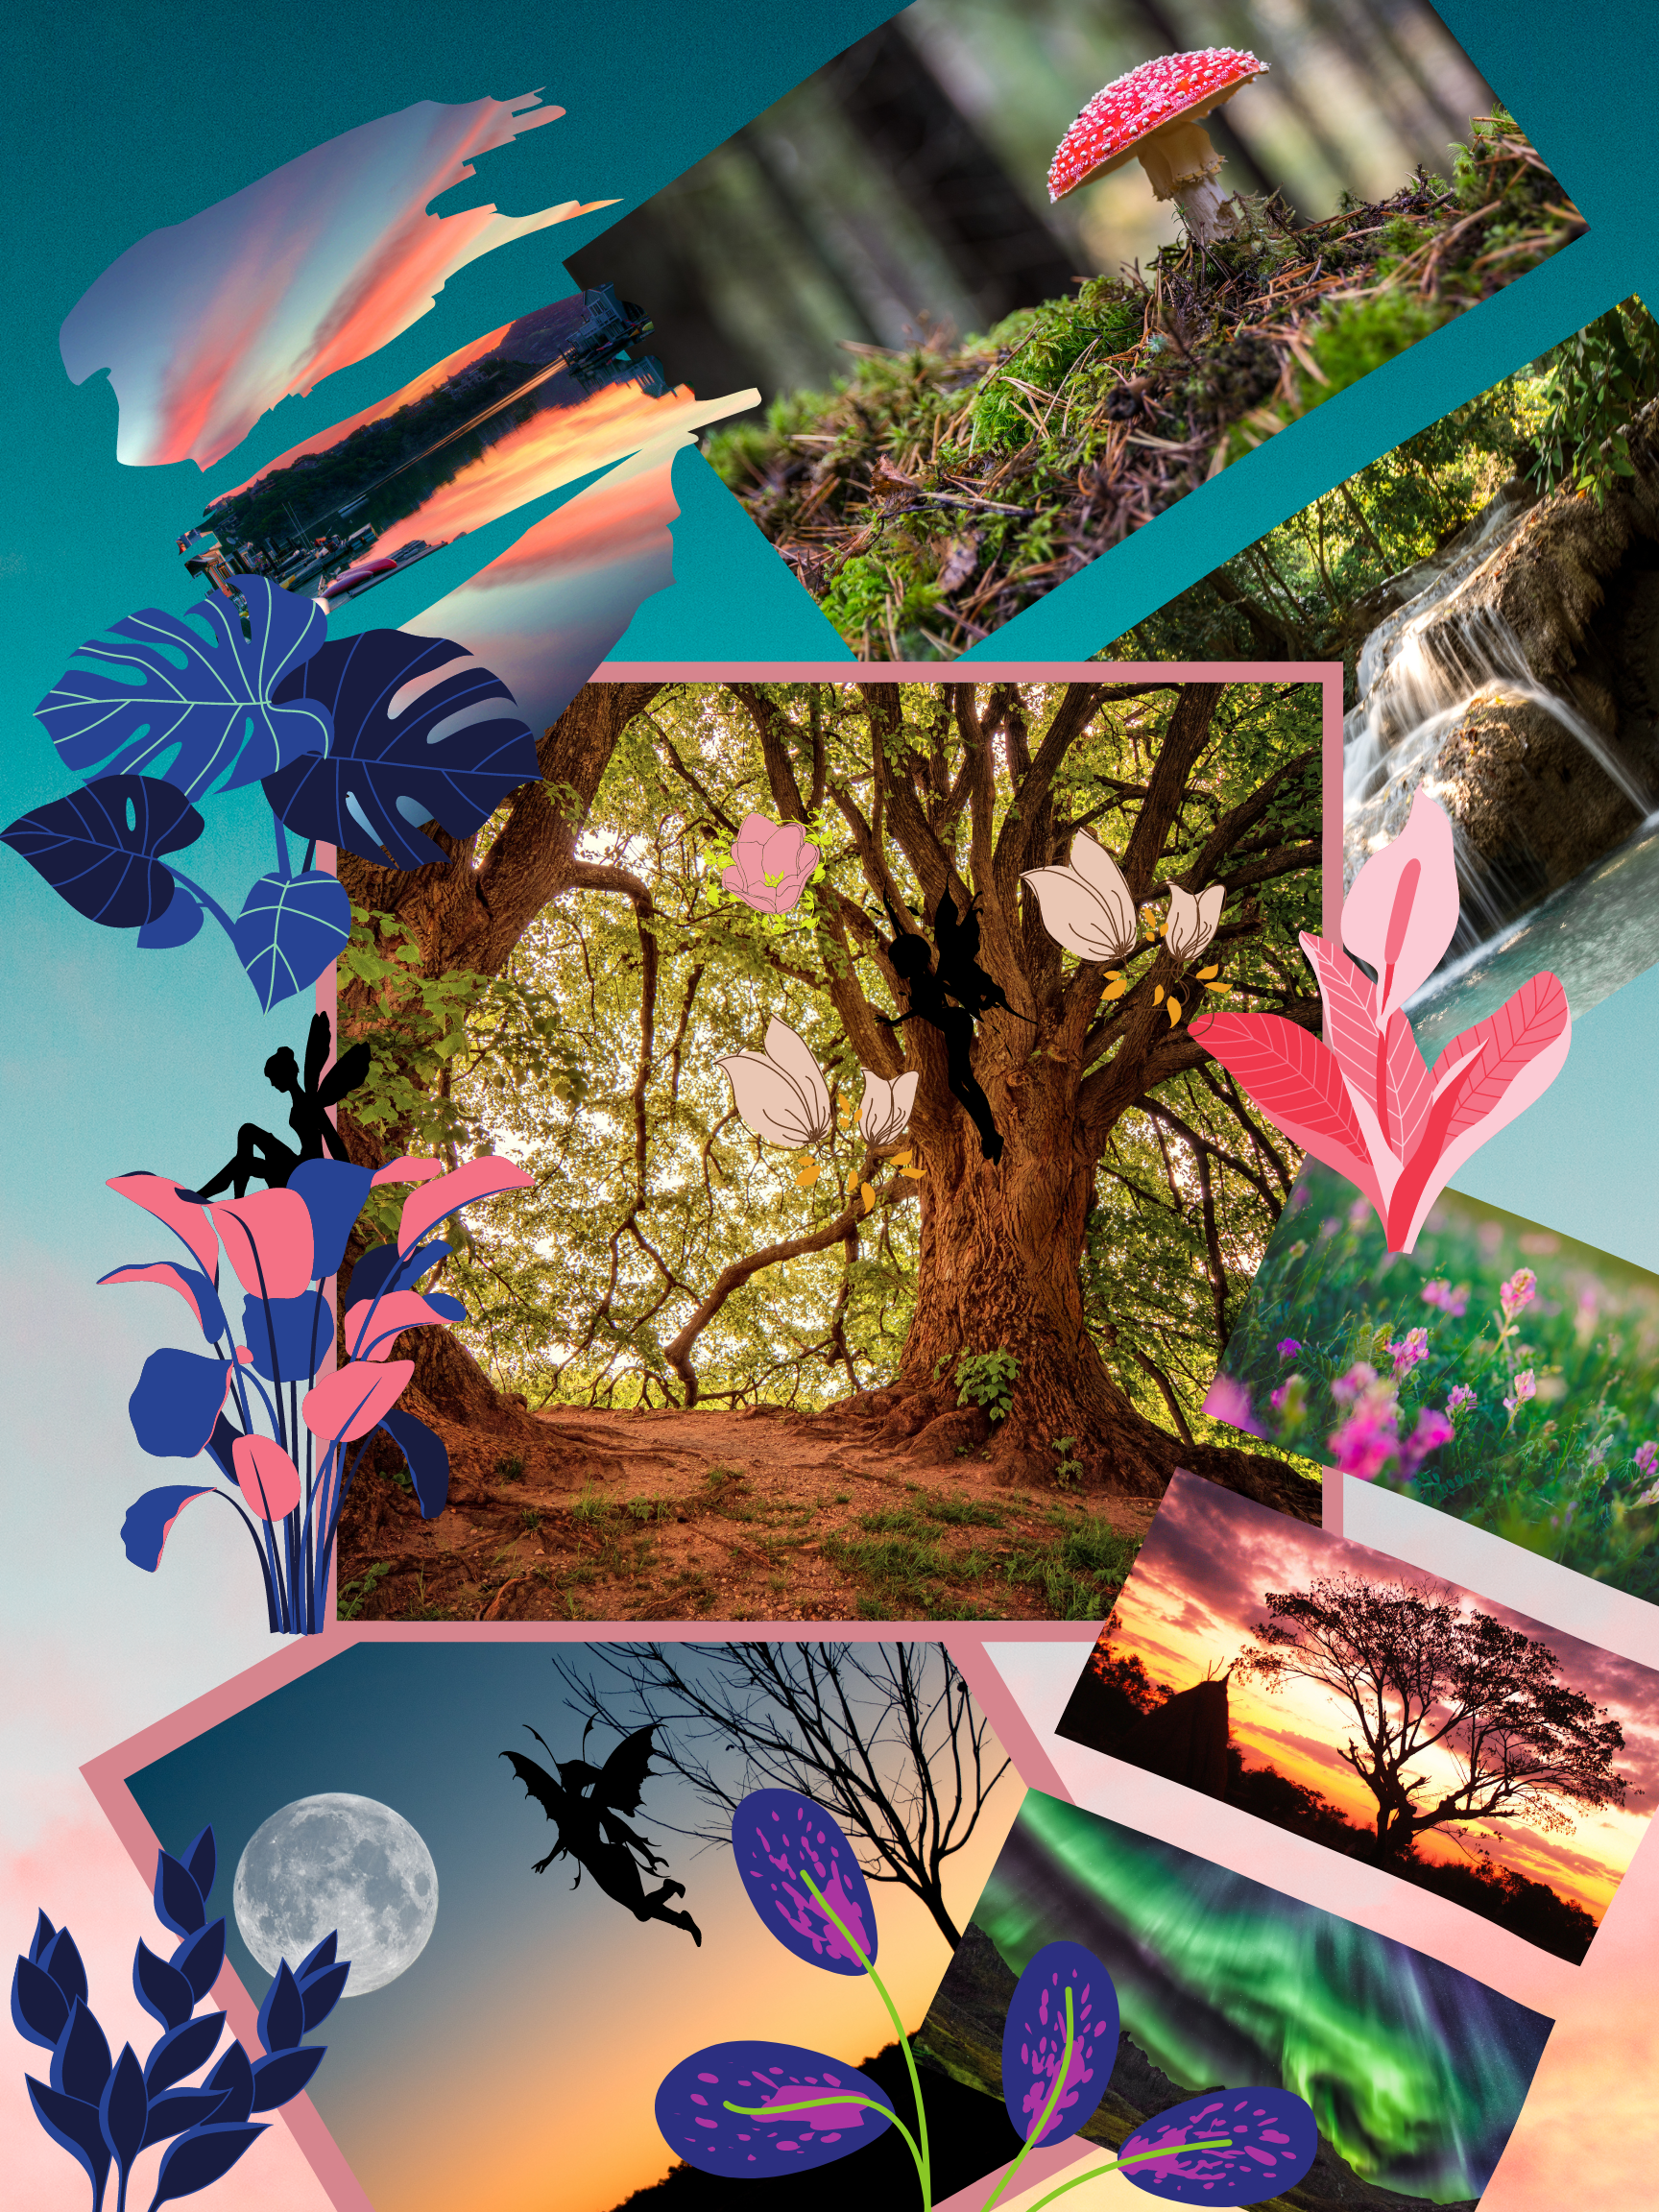
Add final details.
After you have the main components of your plan together, begin looking for the final details that will round out and complete your work. If you are making a physical vision board, you might go out and find real plants or flowers that you want to work with. If you are making a digital board, then find smaller objects to add. For the artwork shown here, the plants give the idea that this artwork will be more of an illustration than a realistic drawing. The addition of fairies could be a small detail that the artist may want to add.
The vision board shown here was created using a free online program called Canva. Other options for creating digital vision boards are PicCollage (a free app), PicMonkey (an online program), and Adobe Spark (free on a device, paid online program). Please make sure to talk to your parents before signing up for any of these programs.
Of course, you can always make a physical collage for your vision board! This is often just as easy and maybe even a little more fun! It's great to find textures and real-life objects that you can include in your vision board, something that just isn't possible with digital programs.
Text
Guided Notes
Tutor
Video
How To
Meet your new study partner! With our powerful Student Tools, your online learning experience just got more accessible,
personalized, and thought-provoking than ever before!
Do you feel like you learn better when you watch videos? You’re not alone!
Research shows instructional videos can make learners more engaged and active in online classes,
when compared to text-only lessons.
Student Tools lets you turn some lesson pages into videos instantly! Just click the Student Tools tab and select Video.
Remember, video instruction is not available on every lesson page.
Go back to the lesson page any time by closing the Student Tools window.
Sometimes when you learn, it can feel like you’re just not getting it. Maybe you don’t really know what all the words on
the page mean, or you have to read a paragraph two or three times to understand what it’s about.
If this happens to you, just click the Student Tools tab and choose “Text.” This will automatically
simplify the instruction, making it easier to understand and remember.
Go back to the lesson page any time by closing the Student Tools window.
The science is in, and taking notes is one of the best ways to reinforce your learning.
Notes work even better when you write them by hand, since you’re more likely to put complex new ideas
in your own words and remember them longer.
You can quickly and easily access guided notes, as well as key lesson vocabulary,
by clicking Student Tools > Notes. Choose a PDF or Word Doc,
and fill them out online -- or even better-- print them out and take notes by hand!
Go back to the lesson page any time by closing the Student Tools window.
Imagine a teacher you can contact anytime, who is happy to answer all your questions and
knows pretty much everything in the world about the subject you need help with.
Say, “Hello!” to your Tutor! Click on Student Tools > Tutor, and ask any question about your class.
Your Tutor is super smart! You can ask the Tutor to explain things more clearly, make connections
between ideas, or even give you custom quizzes and feedback. You can click the links under References to learn more.
Go back to the lesson page any time by closing the Student Tools window.
Student Tools lets you create your own Flashcard decks to help you study. To get started, click Student Tools >
Flashcards. Press Add New Set and give it a title.
Now, decide what will be on the front and back of your first card. It can be a term and definition, a challenging question,
or even a funny phrase that helps you remember something. Click Add Card to Set to make a new Flashcard.
You can delete sets or cards by clicking the trash can icon. When you’re done, click Save Cards to Set.
Now you can Review your deck. Read the front of the card, and think of the answer. Even better, say your answer out loud! Then, click the card to flip it over.
Depending on how you did, you can either keep that card in the deck to study again by clicking Next or Previous, or if you got it right, click remove.
Remember to review your flashcards often, space out study sessions, and keep practicing until you know them all!
Go back to the lesson page any time by closing the Student Tools window.